This guide explains how to use model capabilities provided by SiliconFlow in Refly.
Accessing Refly
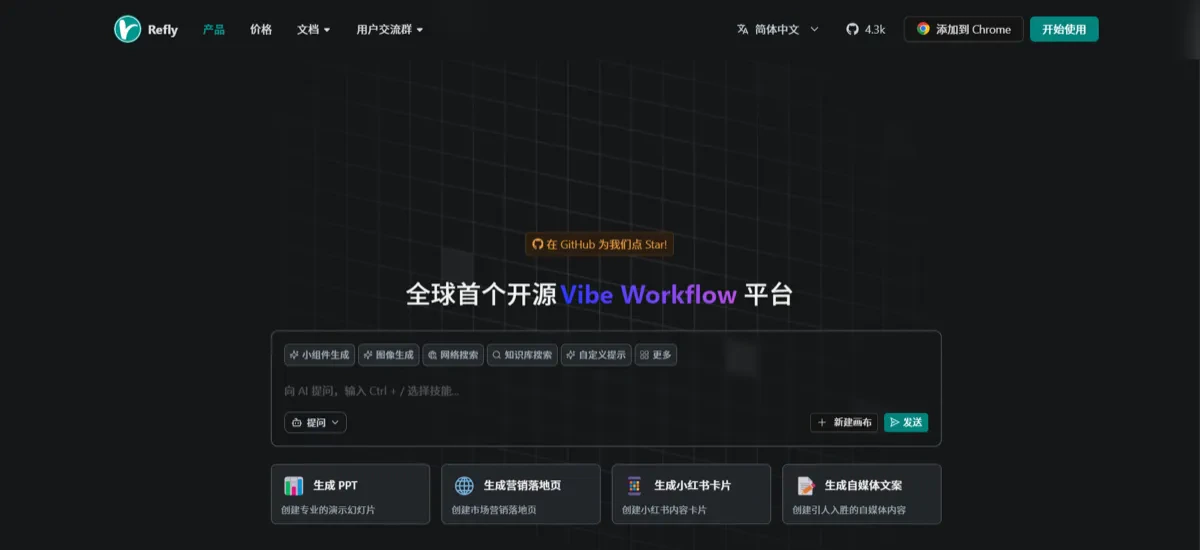
Click to Get Started
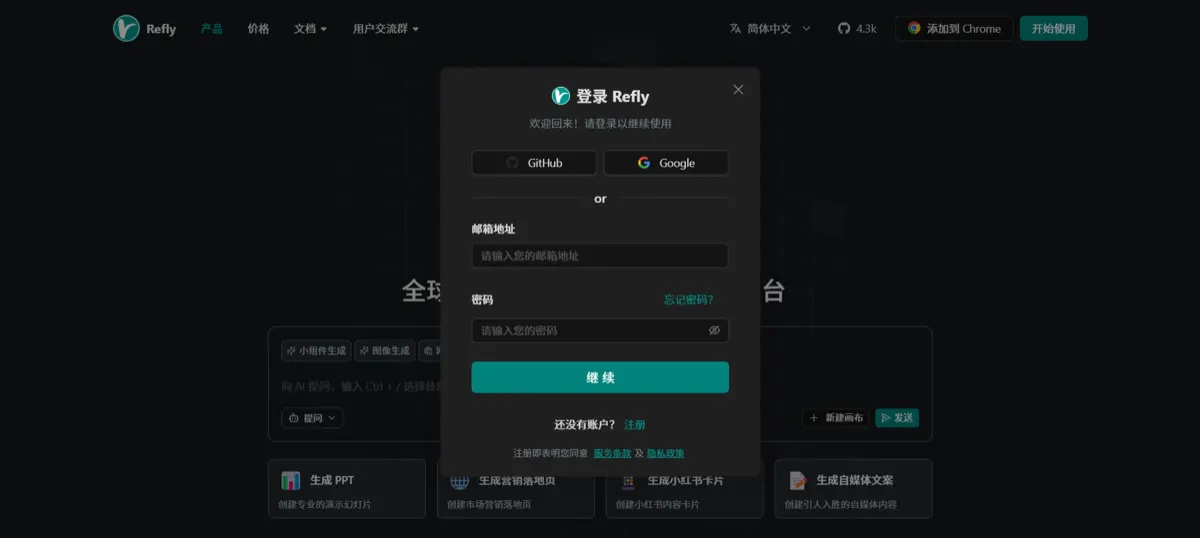
Choose your login method
Configuring SiliconFlow
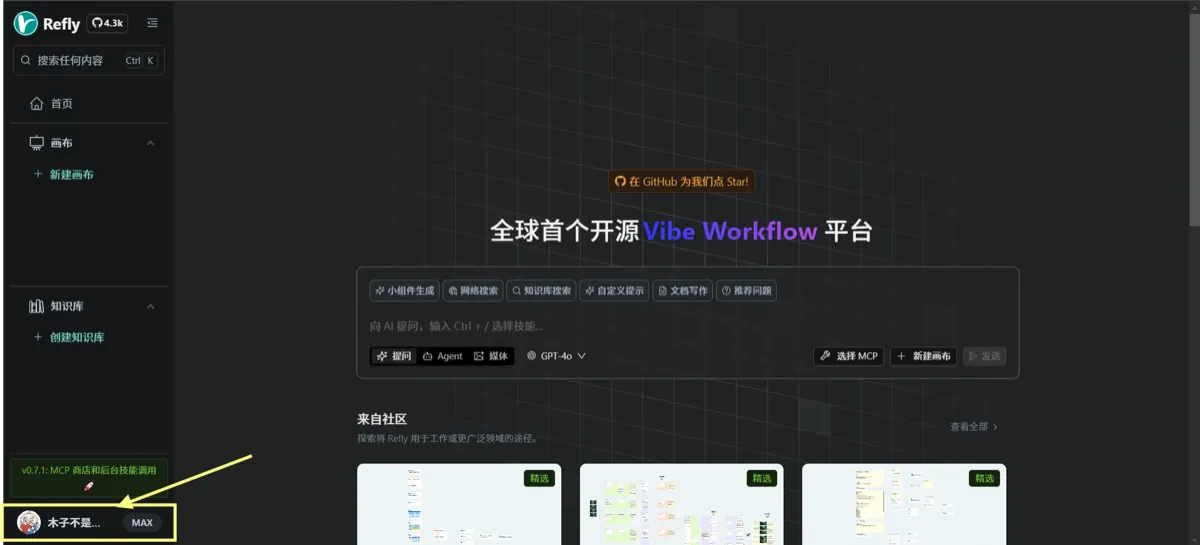
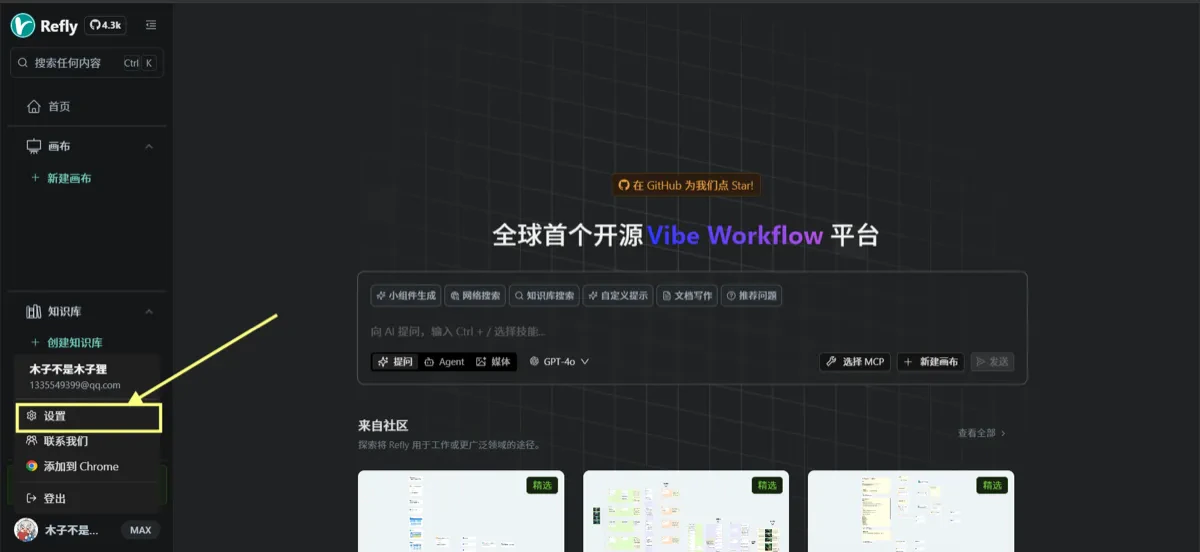
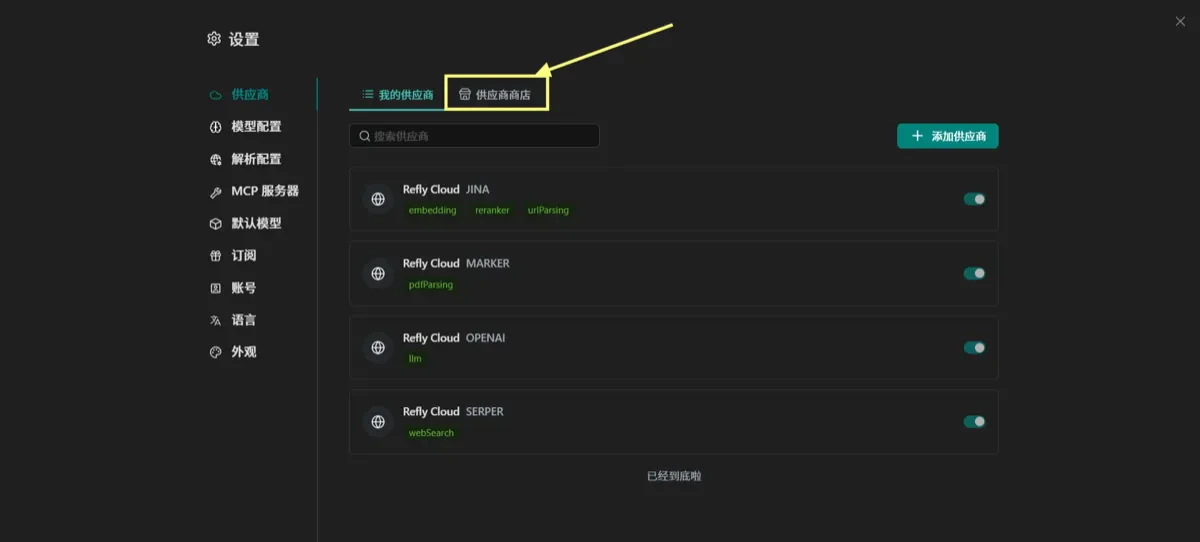
Step 1: Go to the Settings Page
Step 2: Access the Vendor Store
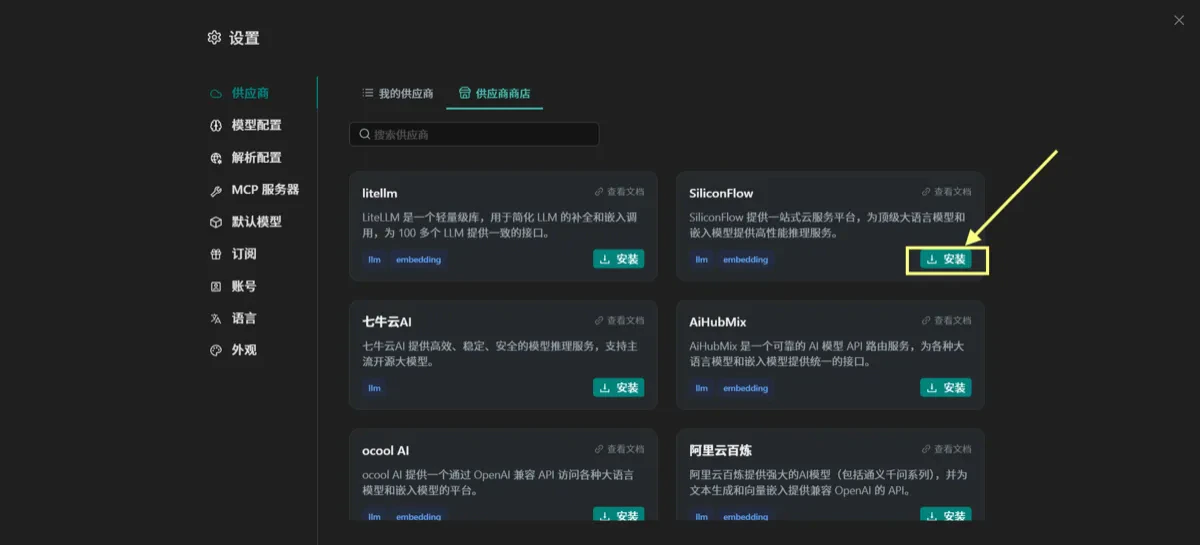
Step 3: Install SiliconFlow
Step 4: Configure the API Key
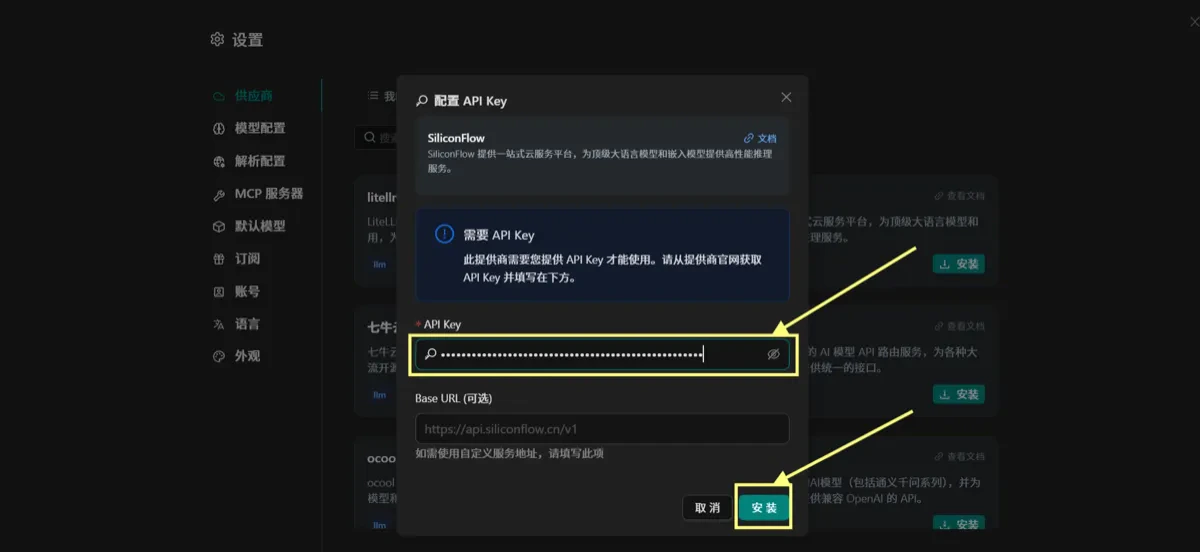
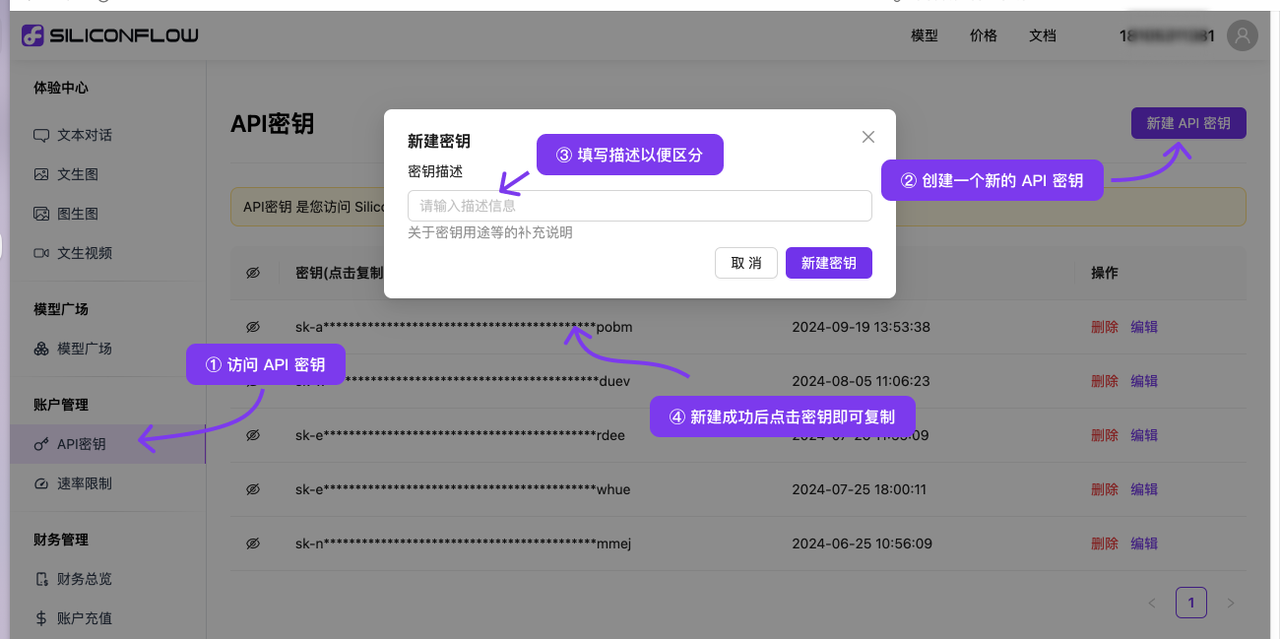
- Get the API Key: Visit SiliconFlow’s official website to retrieve your key
- Enter the API Key: Paste the key into the input field
- Base URL (optional): Defaults to
https://api.siliconflow.cn/v1; change it only if you use a custom endpoint - Click Install: After confirming, click the “Install” button
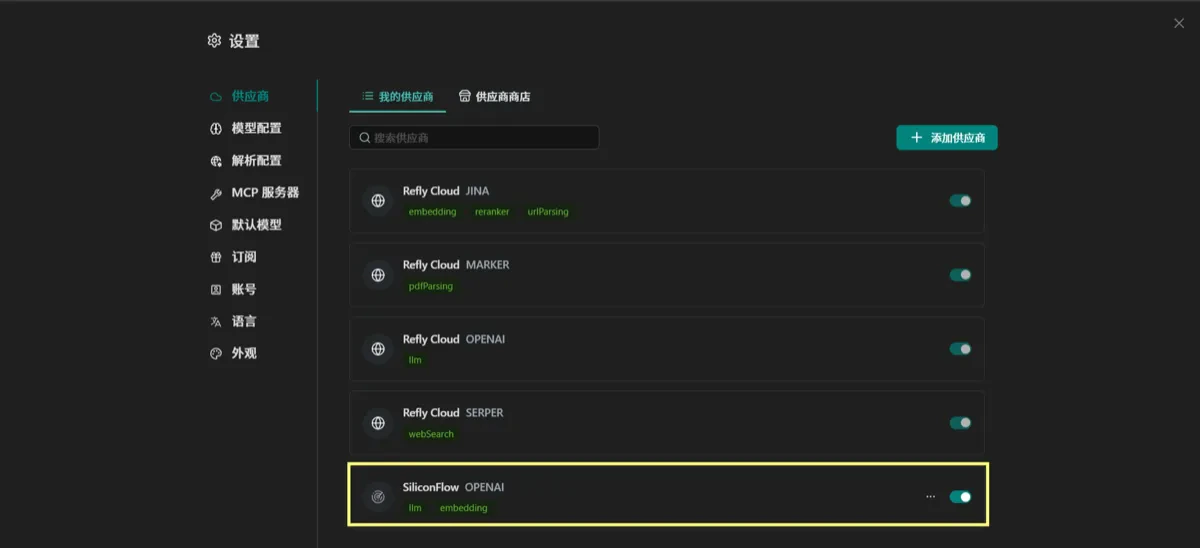
Step 5: Verify Successful Installation
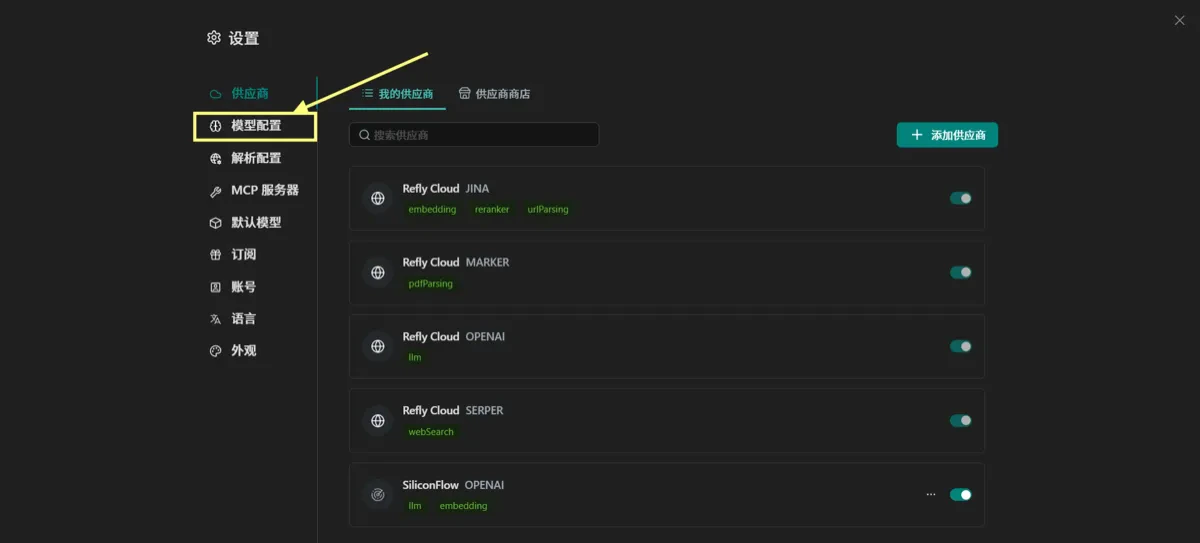
Step 6: Configure the Model
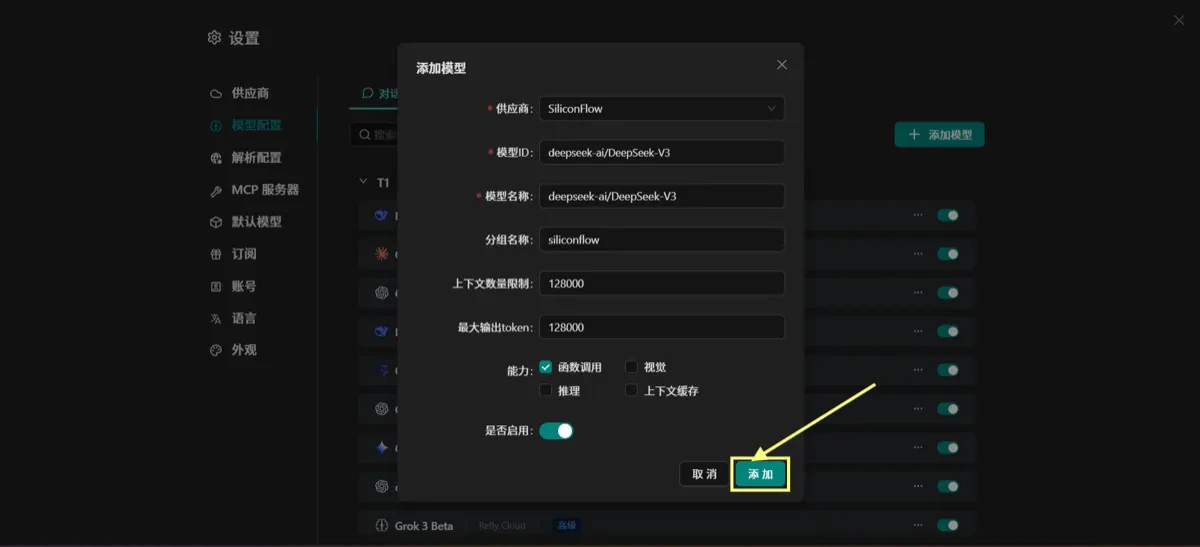
- Vendor: Select “SiliconFlow”
- Model ID:
deepseek-ai/DeepSeek-V3 - Model Name:
deepseek-ai/DeepSeek-V3 - Group Name:
siliconflow - Context Limit:
128000 - Max Output Tokens:
128000 - Capabilities: Check options like “Function Calling”
- Enabled: Leave the switch turned on
Step 7: Understand Model Capabilities
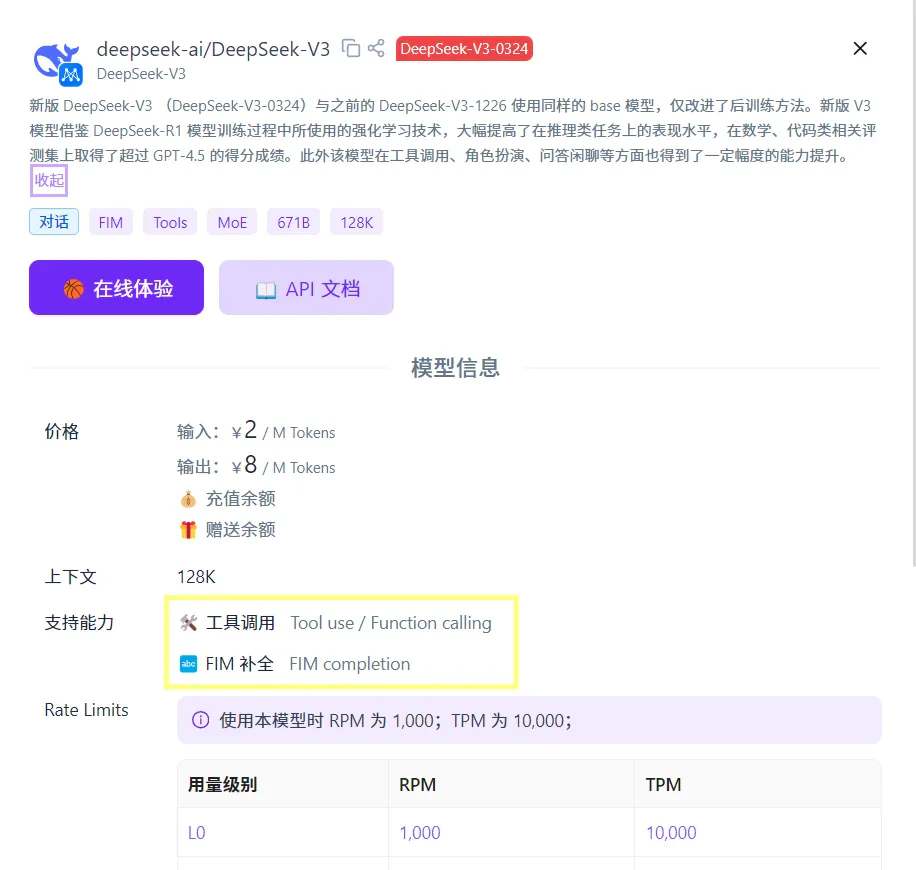
- Pricing: ¥2/M Tokens for input, ¥8/M Tokens for output
- Context Window: 128K tokens
- Supported Features:
- Tool calling / Function calling
- FIM (Fill-in-the-middle) completion
- Rate Limits:
- RPM: 1,000
- TPM: 10,000
Recommendations
- API Key Security: Keep your key secure and never share it
- Cost Monitoring: Track API usage to avoid unexpected charges
- Model Selection: Choose the right model and settings based on your use case
- Function Testing: Run basic tests after setup to ensure everything works
Frequently Asked Questions
Q: How do I edit a model configuration?A: Go to the model configuration page, click the “…” next to the model, then choose “Edit.” Q: How do I disable a vendor?
A: In the vendor list, toggle the switch to off for that provider.
Once setup is complete, you can fully utilize SiliconFlow’s powerful AI model capabilities right inside Refly!