
FastGPT
Updated: April 15, 2025
SiliconFlow(硅基流动) is a platform primarily focused on providing APIs for open-source models and has acceleration test and use open-source models at a low cost and with speed. From actual experience, their models have excellent stability, and they offer a wide covering language, vector, reordering, TTS, STT, drawing, and video generation models, which can meet all model needs in Fast.
If you want to use some models from SiliconFlow, you can also refer to OneAPI Integration with SiliconFlow.
This article will introduce a solution for deploying FastGPT SiliconFlow models.
1. Register for a SiliconFlow Account
- Register for SiliconFlow Account
- Go to the console to get the API key: https://cloud.siliconflow.cn/account/ak
2. Modify FastGPT Environment Variables
OPENAI_BASE_URL=https://api.siliconflow.cn/v1
# 填写 SiliconFlow 控制台提供的 Api Key
CHAT_API_KEY=sk-xxxxxx
3. Modify FastGPT Configuration File
We will use SiliconFlow models for the FastGPT configuration. Here, we configure the pure language and vision model wen2.5 72b; choosebge-m3 as the vector model; choose bge-reranker-v2-m3 the reordering model. Choose fish-speech-1.5 as the speech model; choose SenseVoiceSmall as input model.
Note: The ReRank model still be configured with an API key once.
{
    "llmModels": [
    {
      "provider": "Other", // 模型提供商,主要用于分类展示,目前已经内置提供商包括:https://github.com/labring/FastGPT/blob/main/packages/global/core/ai/provider.ts, 可 pr 提供新的提供商,或直接填写 Other
      "model": "Qwen/Qwen2.5-72B-Instruct", // 模型名(对应OneAPI中渠道的模型名)
      "name": "Qwen2.5-72B-Instruct", // 模型别名
      "maxContext": 32000, // 最大上下文
      "maxResponse": 4000, // 最大回复
      "quoteMaxToken": 30000, // 最大引用内容
      "maxTemperature": 1, // 最大温度
      "charsPointsPrice": 0, // n积分/1k token(商业版)
      "censor": false, // 是否开启敏感校验(商业版)
      "vision": false, // 是否支持图片输入
      "datasetProcess": true, // 是否设置为文本理解模型(QA),务必保证至少有一个为true,否则知识库会报错
      "usedInClassify": true, // 是否用于问题分类(务必保证至少有一个为true)
      "usedInExtractFields": true, // 是否用于内容提取(务必保证至少有一个为true)
      "usedInToolCall": true, // 是否用于工具调用(务必保证至少有一个为true)
      "usedInQueryExtension": true, // 是否用于问题优化(务必保证至少有一个为true)
      "toolChoice": true, // 是否支持工具选择(分类,内容提取,工具调用会用到。)
      "functionCall": false, // 是否支持函数调用(分类,内容提取,工具调用会用到。会优先使用 toolChoice,如果为false,则使用 functionCall,如果仍为 false,则使用提示词模式)
      "customCQPrompt": "", // 自定义文本分类提示词(不支持工具和函数调用的模型
      "customExtractPrompt": "", // 自定义内容提取提示词
      "defaultSystemChatPrompt": "", // 对话默认携带的系统提示词
      "defaultConfig": {}, // 请求API时,挟带一些默认配置(比如 GLM4 的 top_p)
      "fieldMap": {} // 字段映射(o1 模型需要把 max_tokens 映射为 max_completion_tokens)
    },
    {
      "provider": "Other",
      "model": "Pro/moonshotai/Kimi-K2.6",
      "name": "Qwen2-VL-72B-Instruct",
      "maxContext": 32000,
      "maxResponse": 4000,
      "quoteMaxToken": 30000,
      "maxTemperature": 1,
      "charsPointsPrice": 0,
      "censor": false,
      "vision": true,
      "datasetProcess": false,
      "usedInClassify": false,
      "usedInExtractFields": false,
      "usedInToolCall": false,
      "usedInQueryExtension": false,
      "toolChoice": false,
      "functionCall": false,
      "customCQPrompt": "",
      "customExtractPrompt": "",
      "defaultSystemChatPrompt": "",
      "defaultConfig": {}
    }
  ],
  "vectorModels": [
    {
      "provider": "Other",
      "model": "Pro/BAAI/bge-m3",
      "name": "Pro/BAAI/bge-m3",
      "charsPointsPrice": 0,
      "defaultToken": 512,
      "maxToken": 5000,
      "weight": 100
    }
  ],
  "reRankModels": [
    {
        "model": "BAAI/bge-reranker-v2-m3", // 这里的model需要对应 siliconflow 的模型名
        "name": "BAAI/bge-reranker-v2-m3",
        "requestUrl": "https://api.siliconflow.cn/v1/rerank",
        "requestAuth": "siliconflow 上申请的 key"
    }
  ],
  "audioSpeechModels": [
    {
        "model": "fishaudio/fish-speech-1.5",
        "name": "fish-speech-1.5",
        "voices": [
            {
                "label": "fish-alex",
                "value": "fishaudio/fish-speech-1.5:alex",
                "bufferId": "fish-alex"
            },
            {
                "label": "fish-anna",
                "value": "fishaudio/fish-speech-1.5:anna",
                "bufferId": "fish-anna"
            },
            {
                "label": "fish-bella",
                "value": "fishaudio/fish-speech-1.5:bella",
                "bufferId": "fish-bella"
            },
            {
                "label": "fish-benjamin",
                "value": "fishaudio/fish-speech-1.5:benjamin",
                "bufferId": "fish-benjamin"
            },
            {
                "label": "fish-charles",
                "value": "fishaudio/fish-speech-1.5:charles",
                "bufferId": "fish-charles"
            },
            {
                "label": "fish-claire",
                "value": "fishaudio/fish-speech-1.5:claire",
                "bufferId": "fish-claire"
            },
            {
                "label": "fish-david",
                "value": "fishaudio/fish-speech-1.5:david",
                "bufferId": "fish-david"
            },
            {
                "label": "fish-diana",
                "value": "fishaudio/fish-speech-1.5:diana",
                "bufferId": "fish-diana"
            }
        ]
    }
  ],
  "whisperModel": {
    "model": "FunAudioLLM/SenseVoiceSmall",
    "name": "SenseVoiceSmall",
    "charsPointsPrice": 0
  }
}
4. Restart FastGPT
5. Test Experience
Test Chat and Image Recognition
Create a simple application and select the corresponding models, then enable image upload for testing:
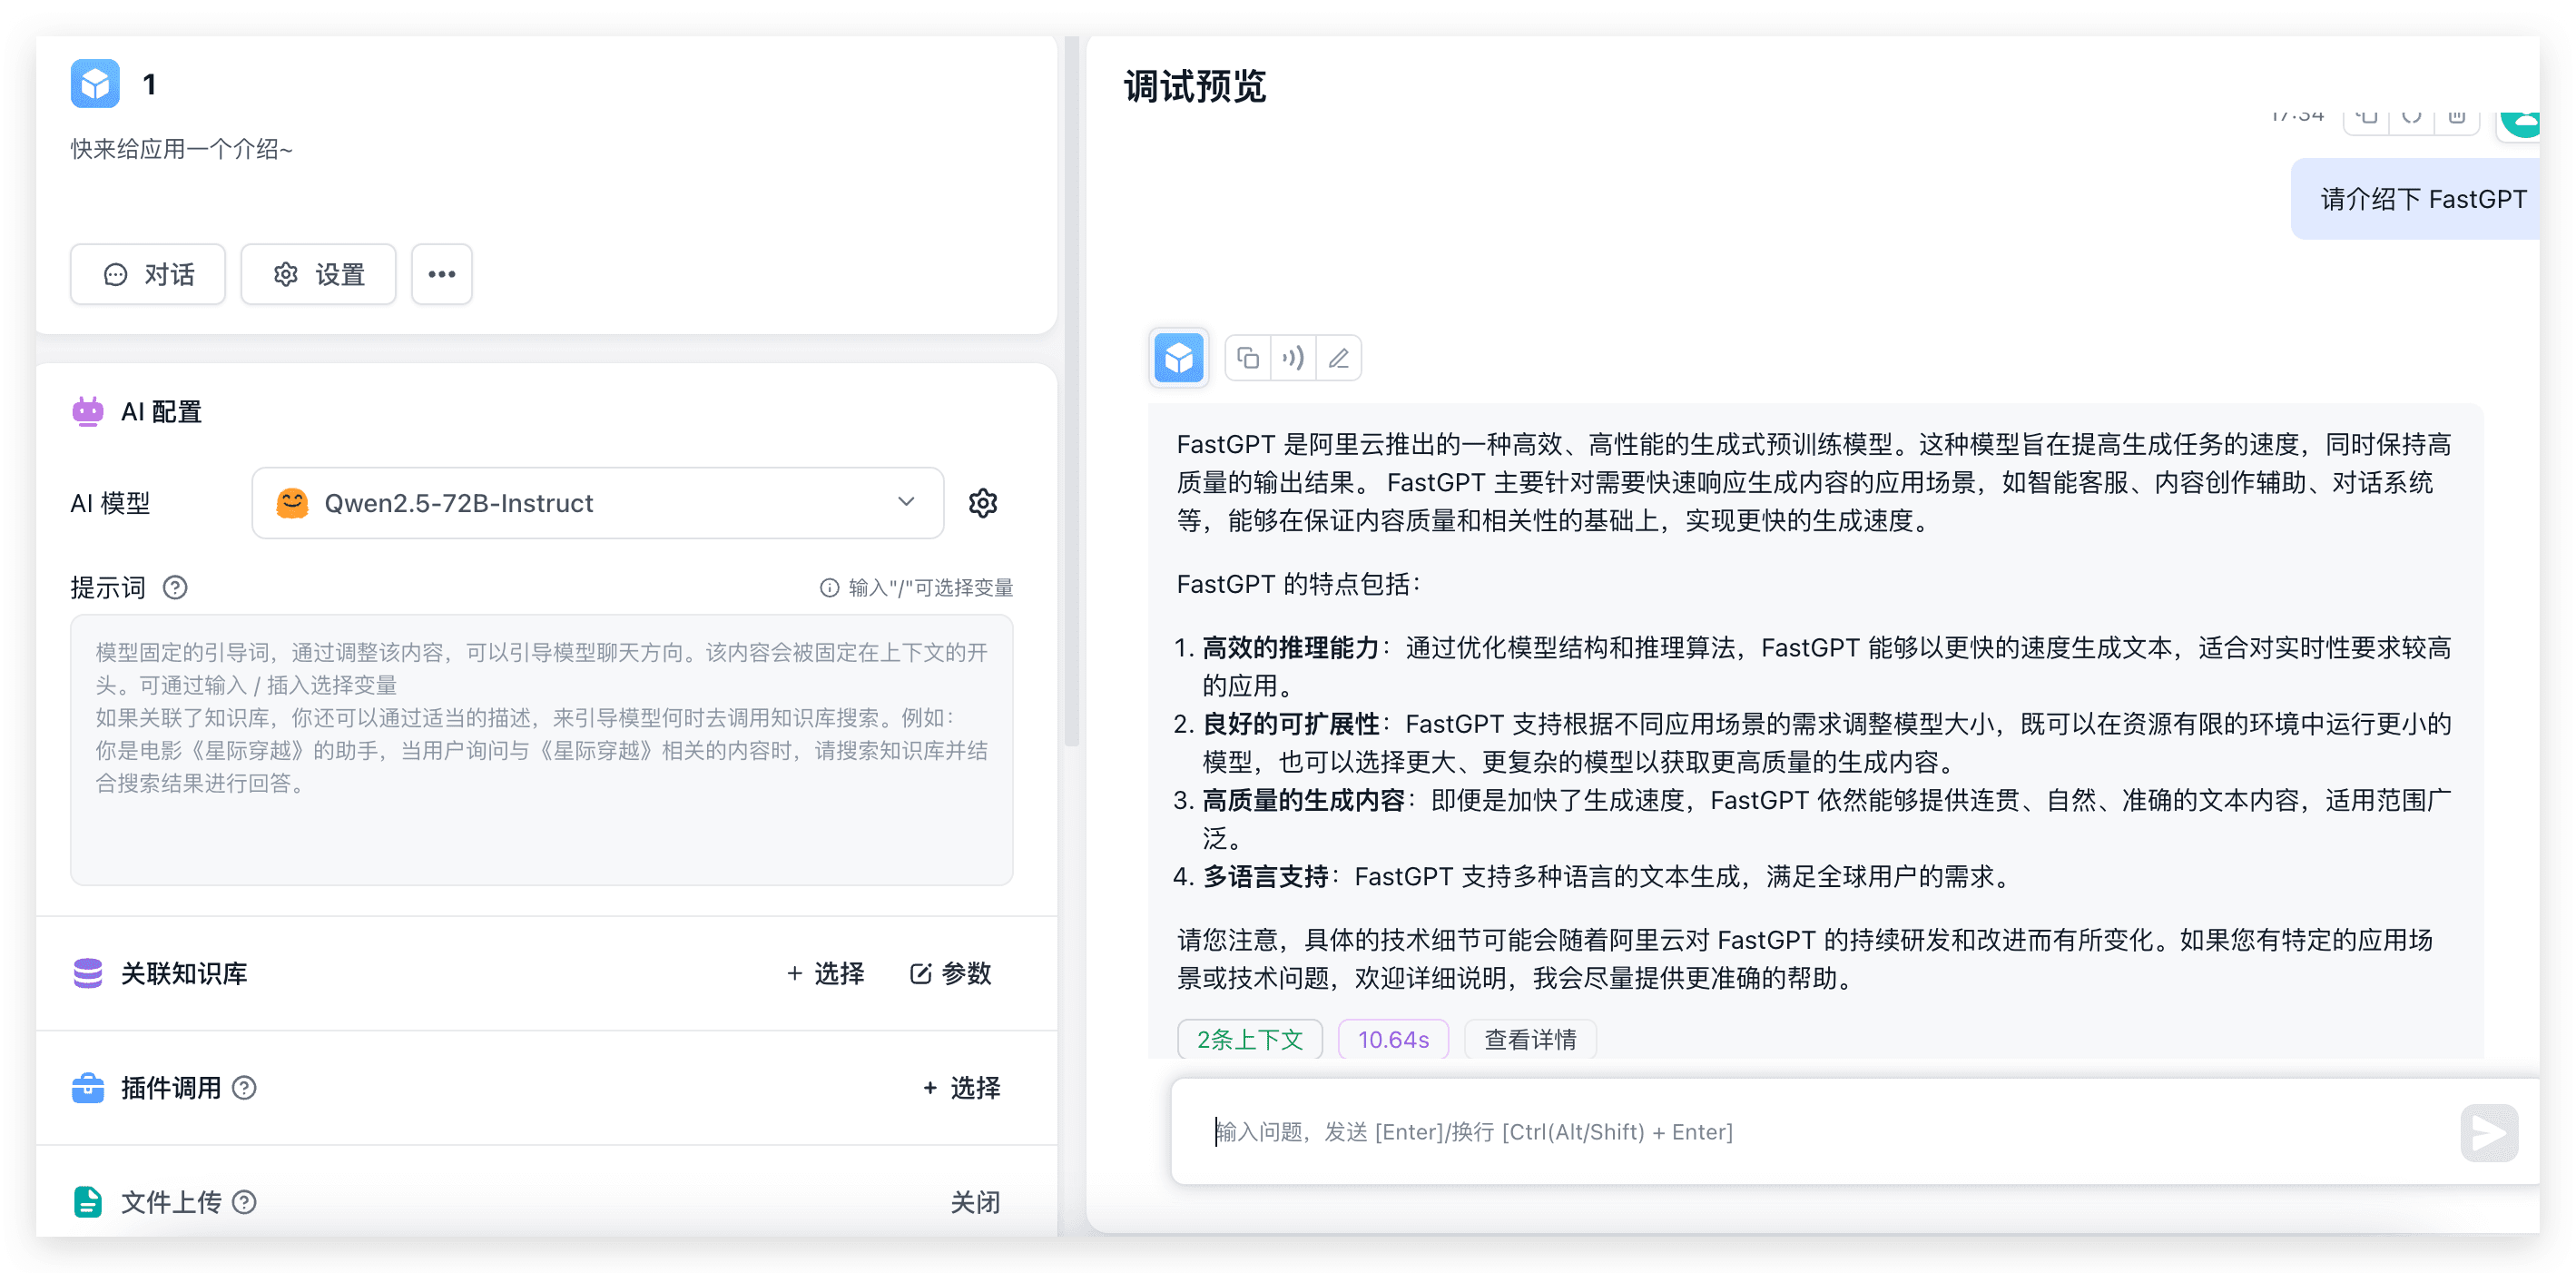 | 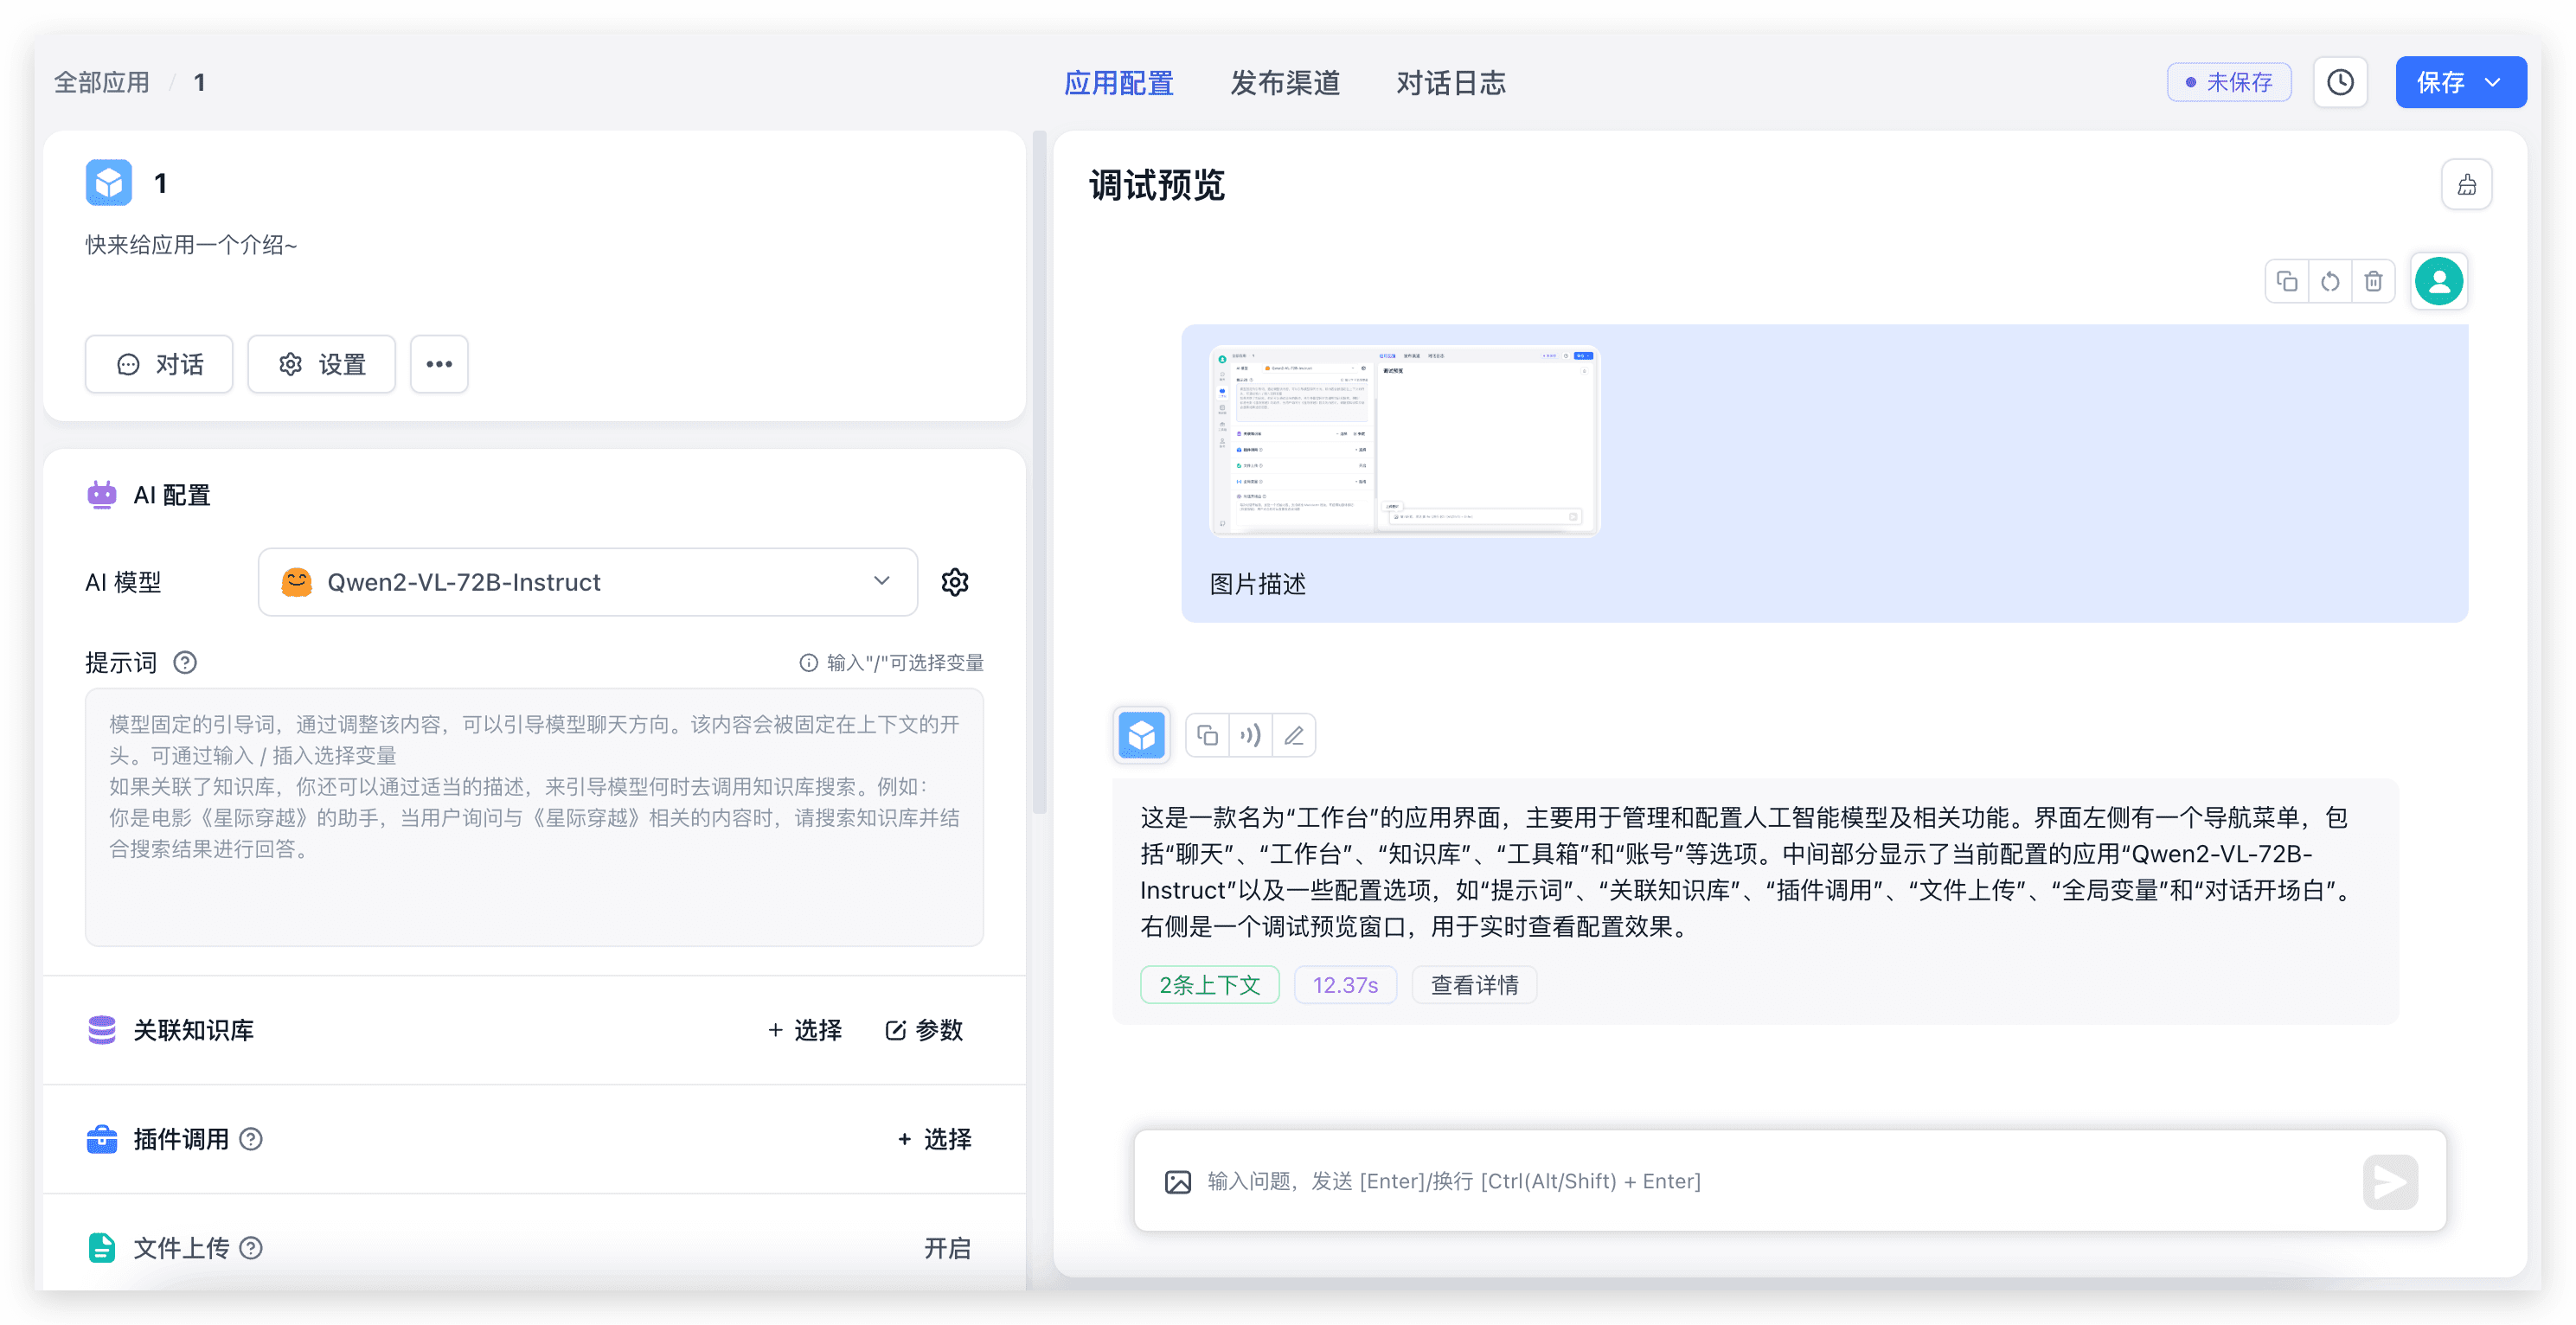 |
You can see 72B very fast. If you don a few 4090 GPUs locally, not only would setting up the environment be challenging, but the output might take 30 seconds or more.
测试知识库导入和知识库问答
新建一个知识库(由于只配置了一个向量模型,页面上不会展示向量模型选择)
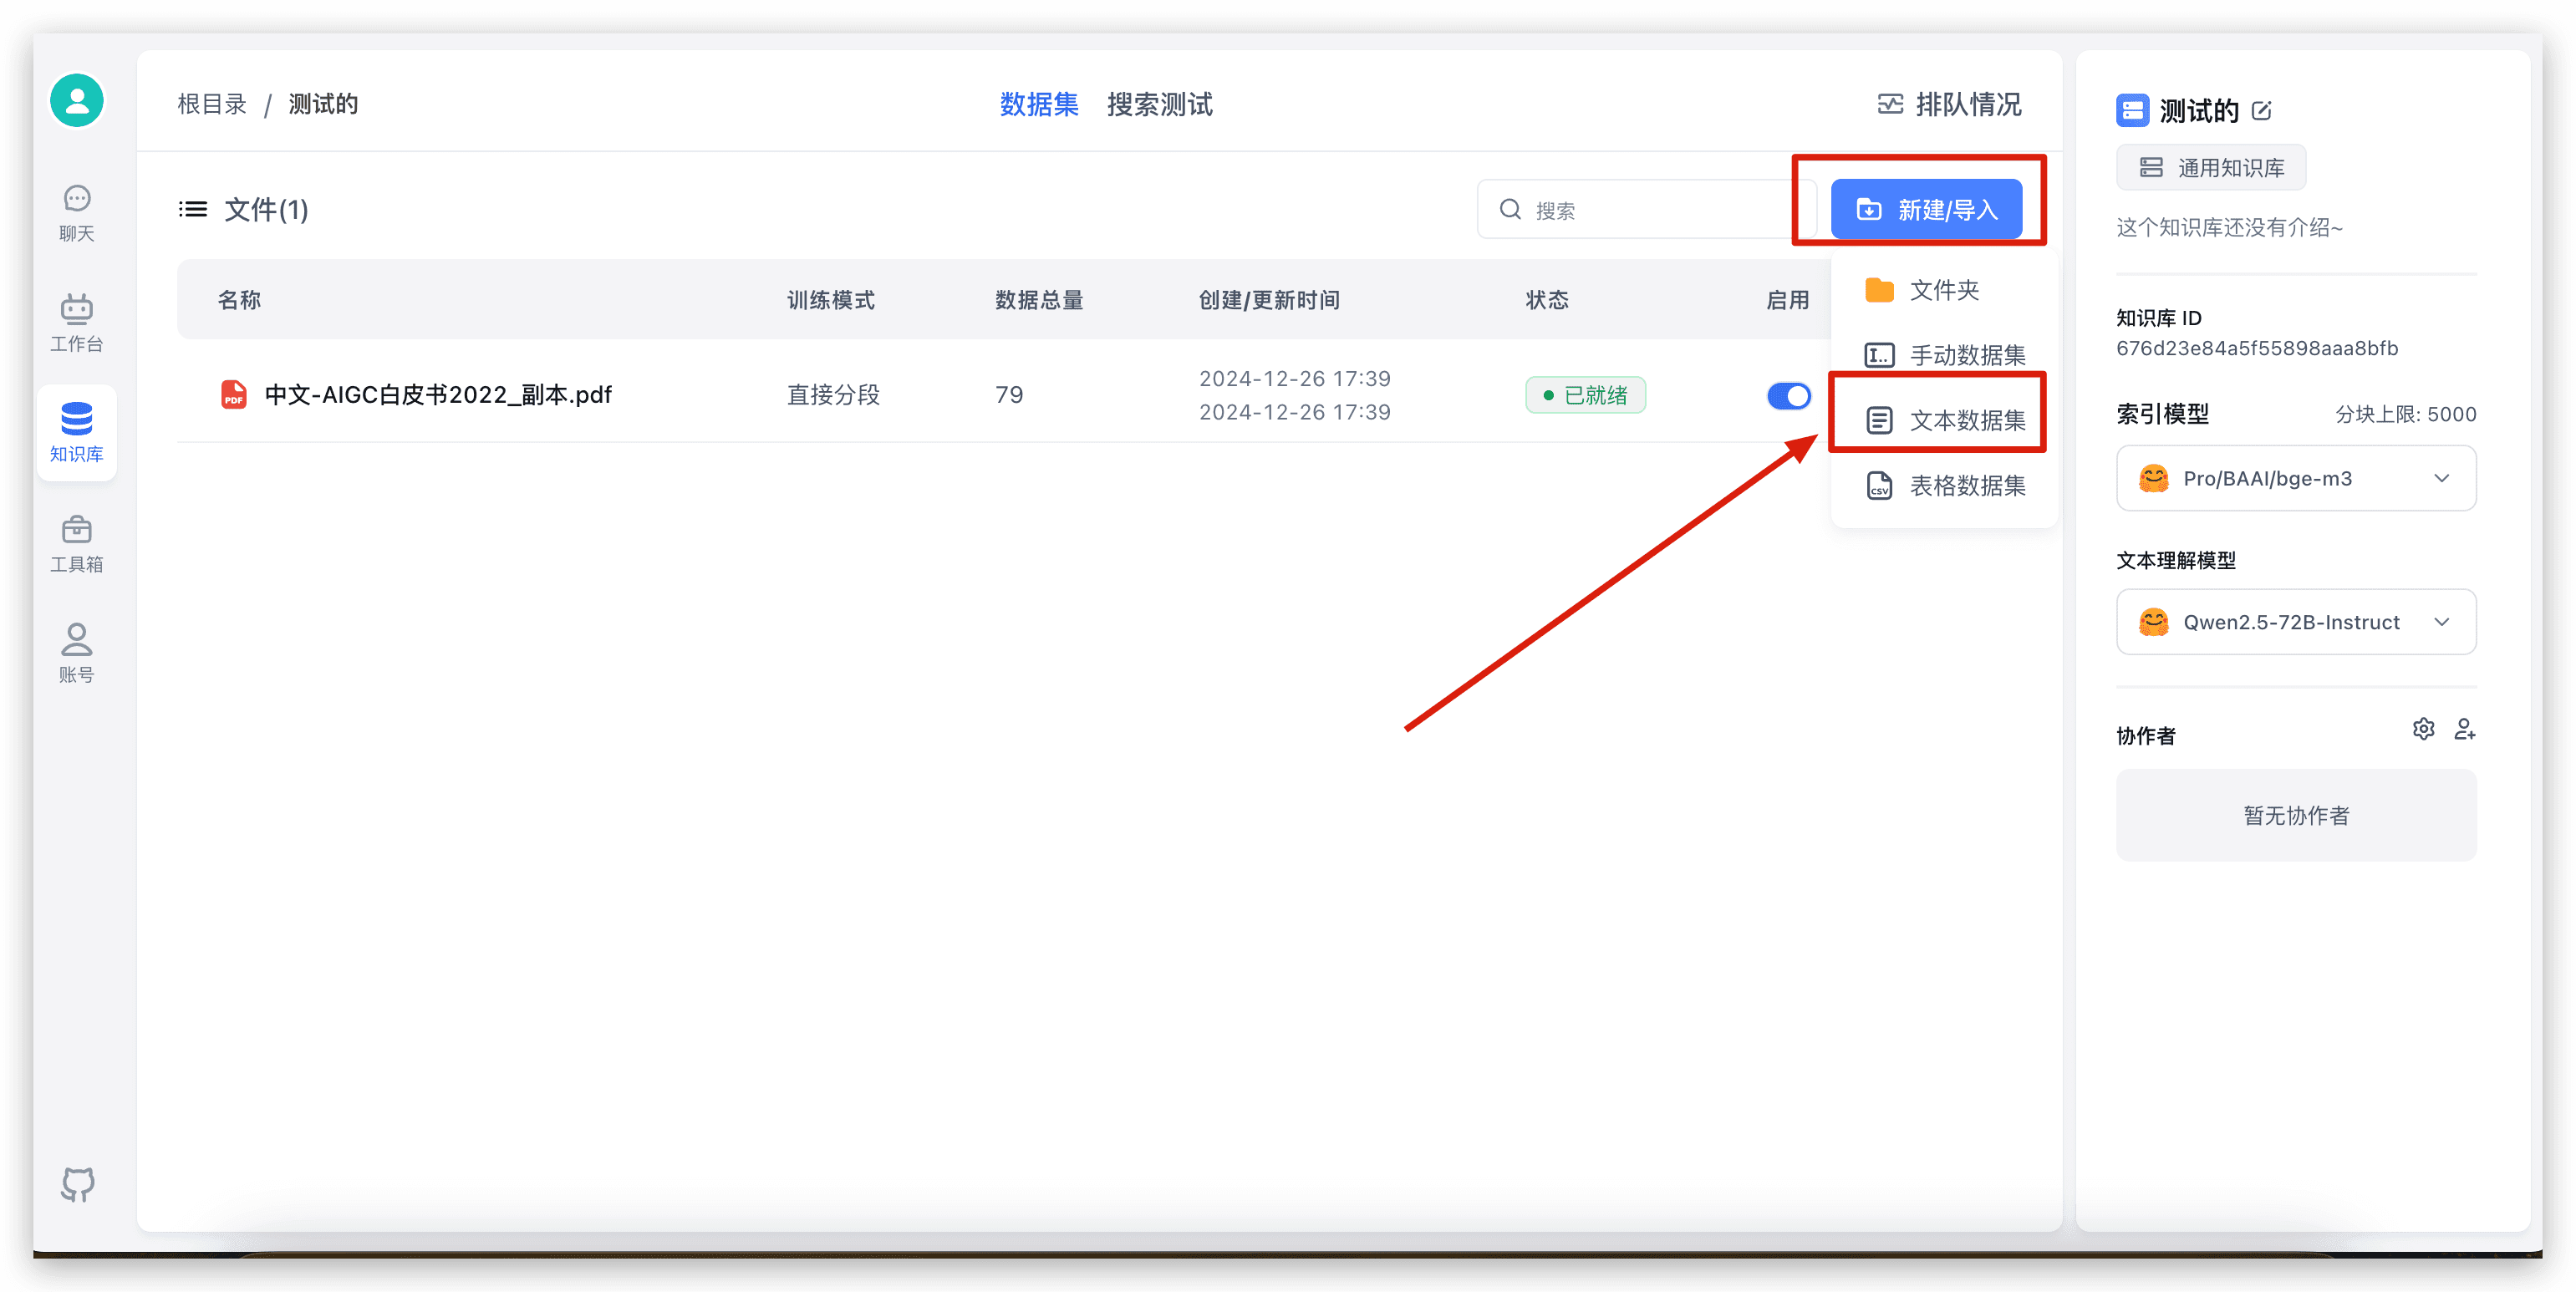 | 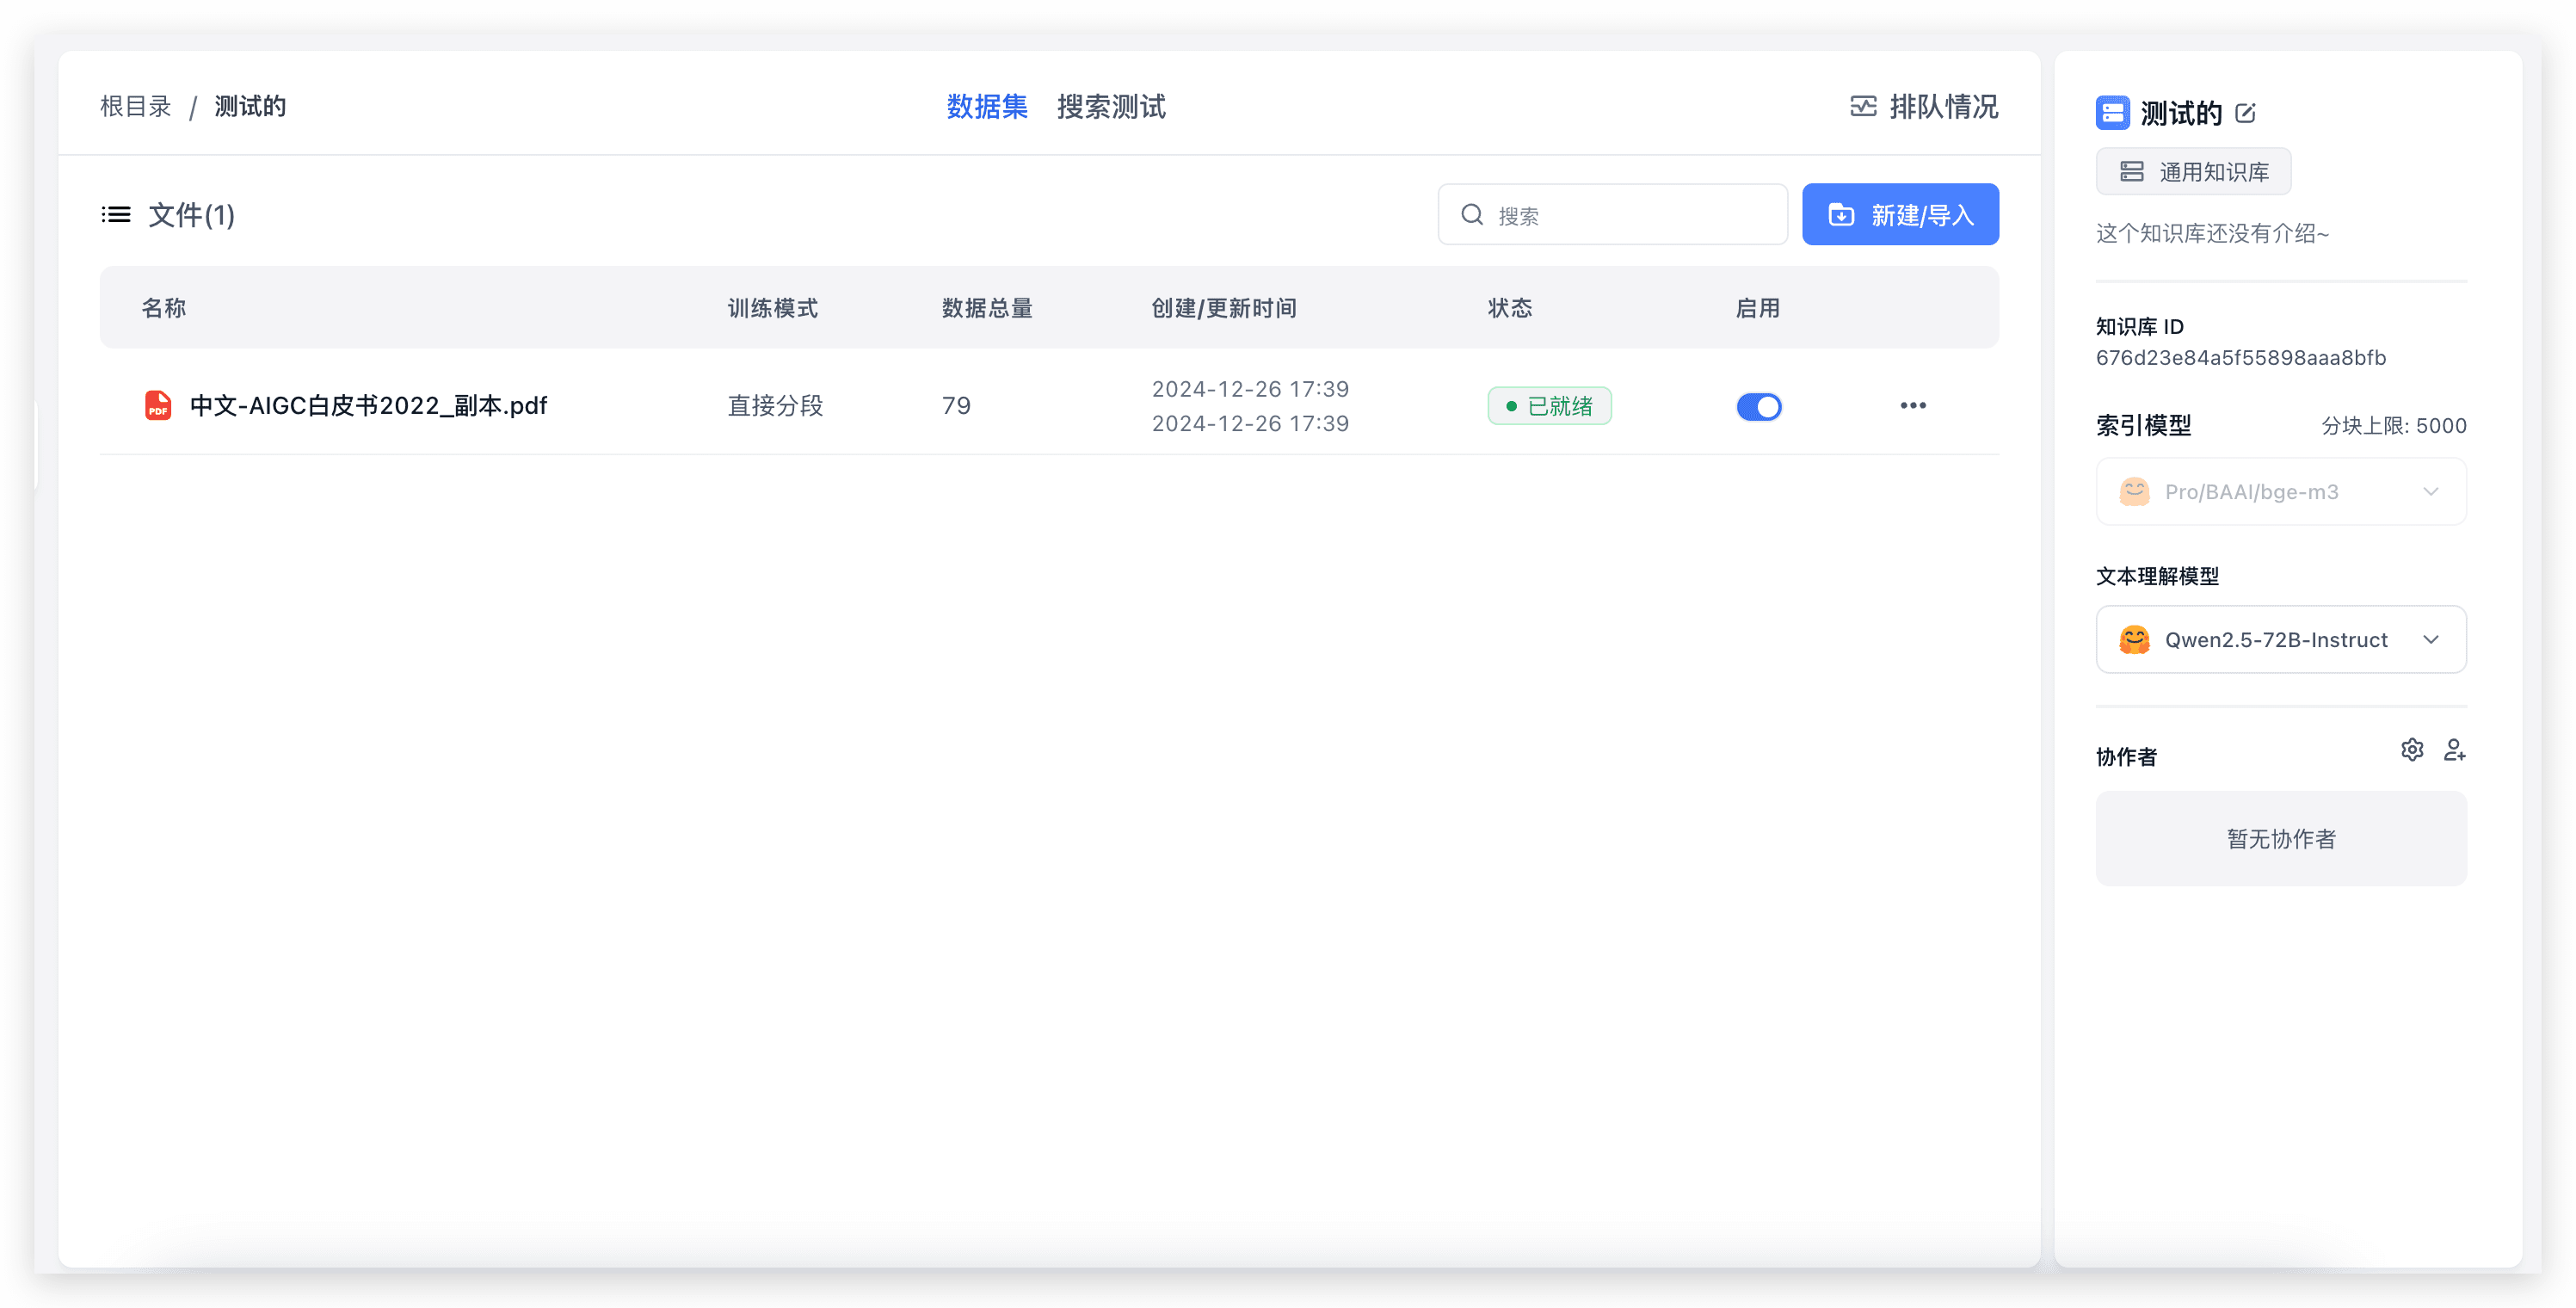 |
导入本地文件,直接选择文件,然后一路下一步即可。79 个索引,大概花了 20s 的时间就完成了。现在我们去测试一下知识库问答。
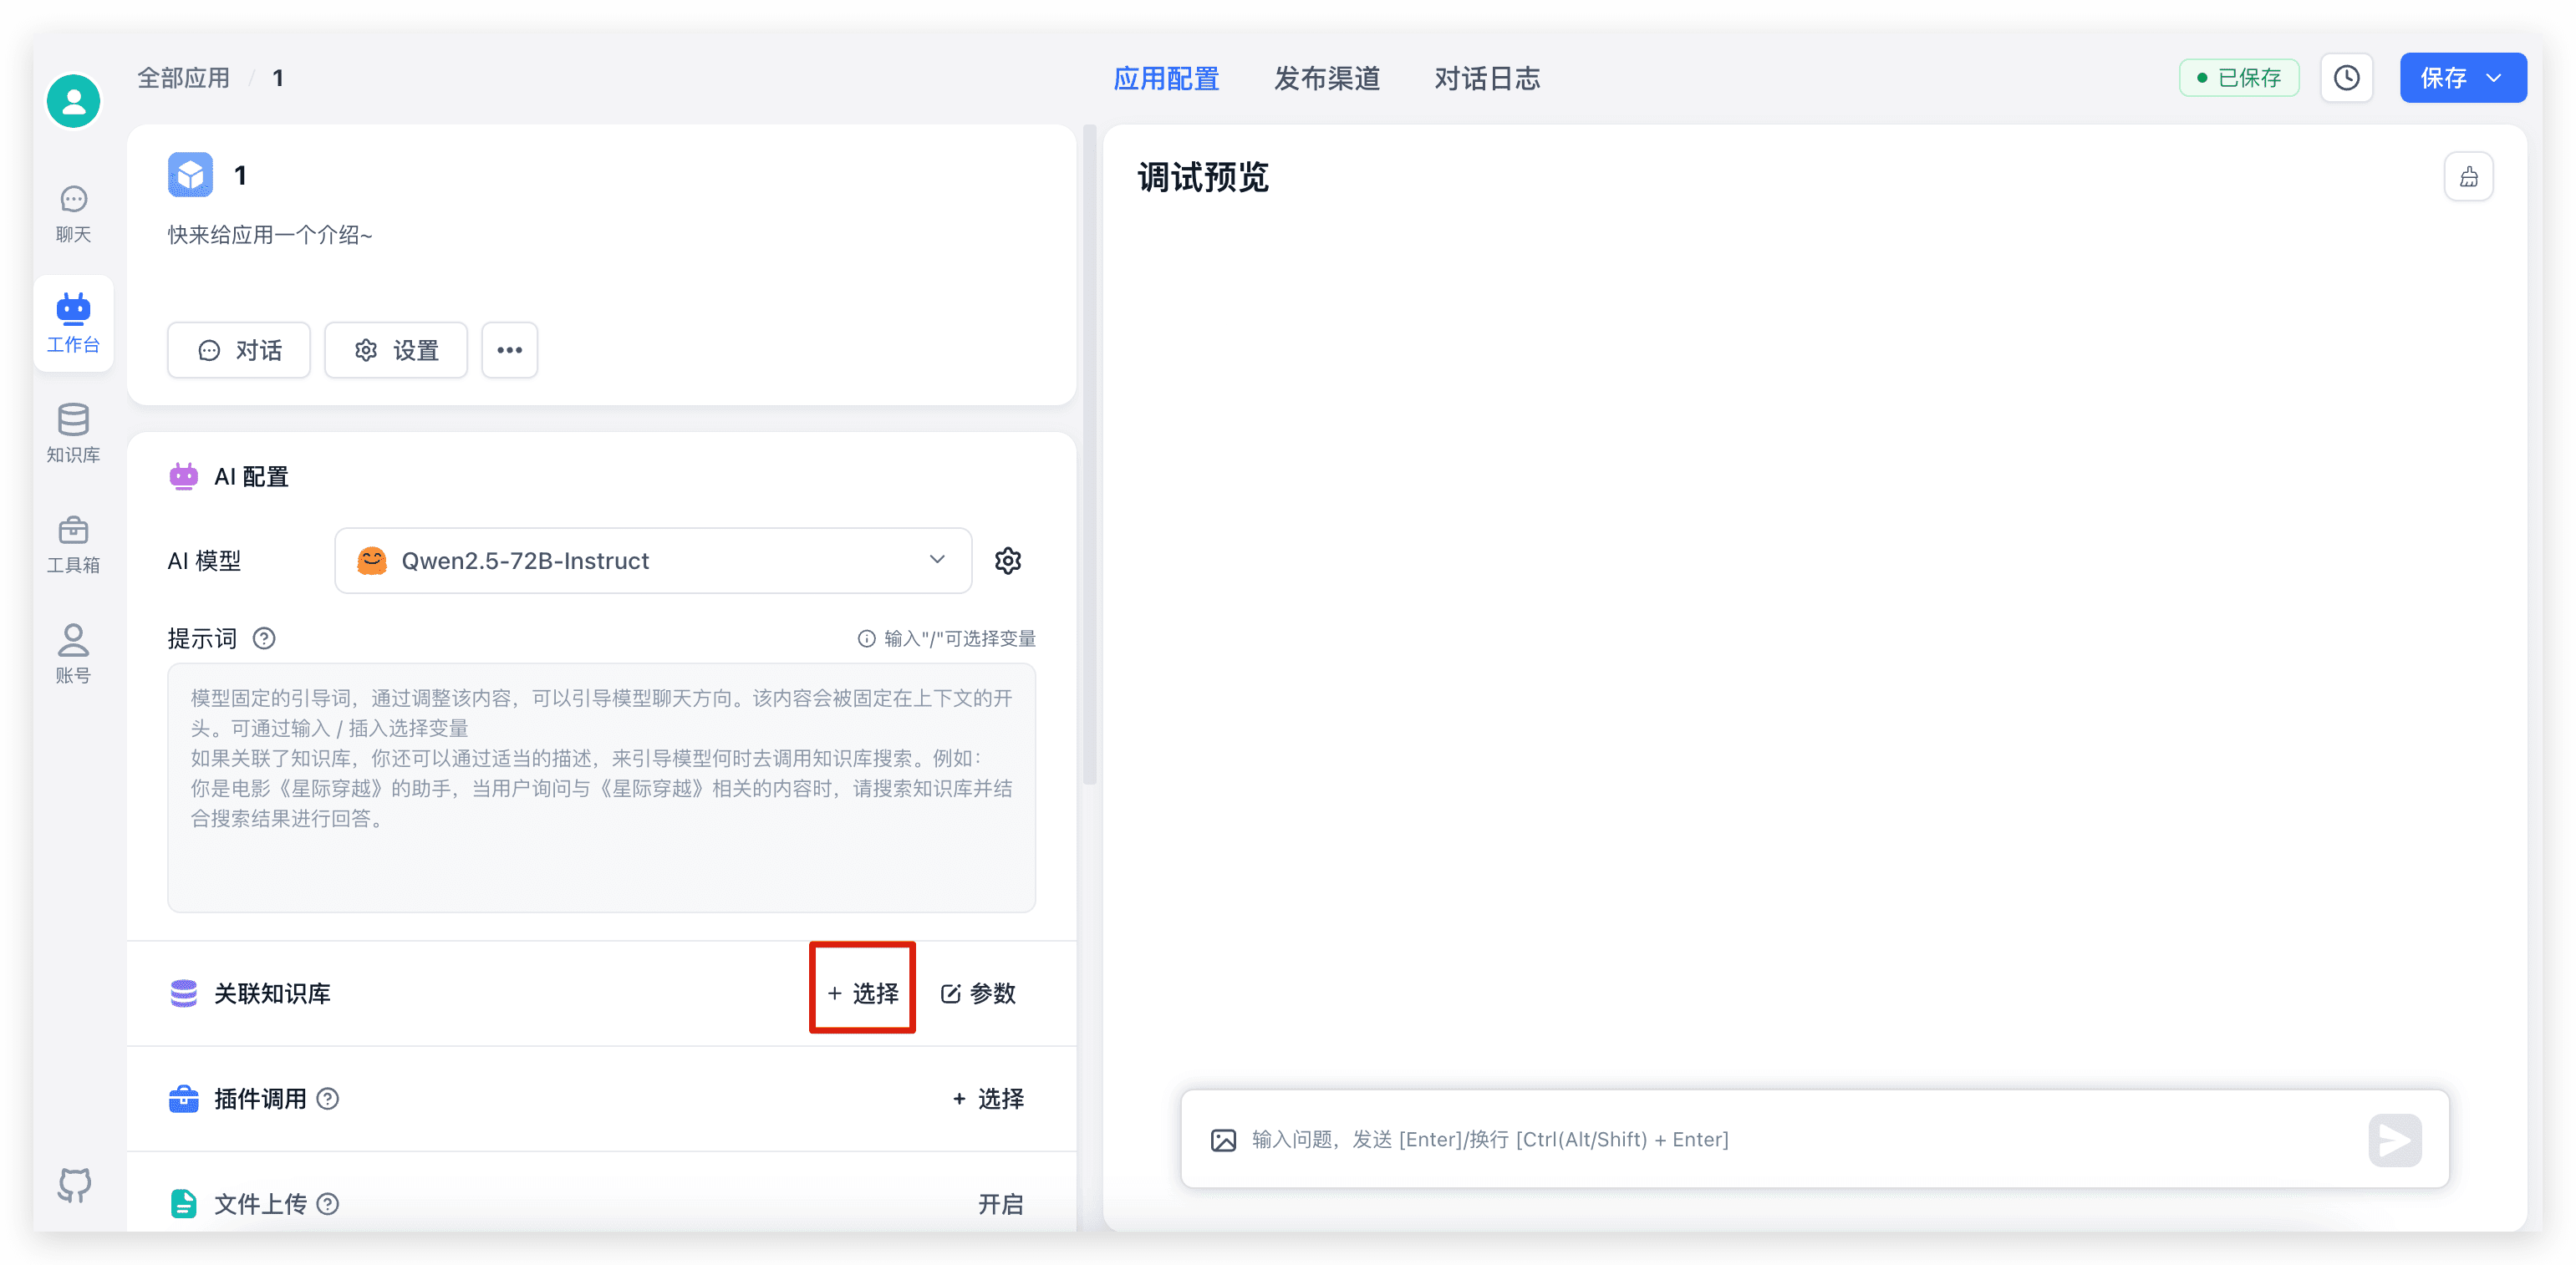
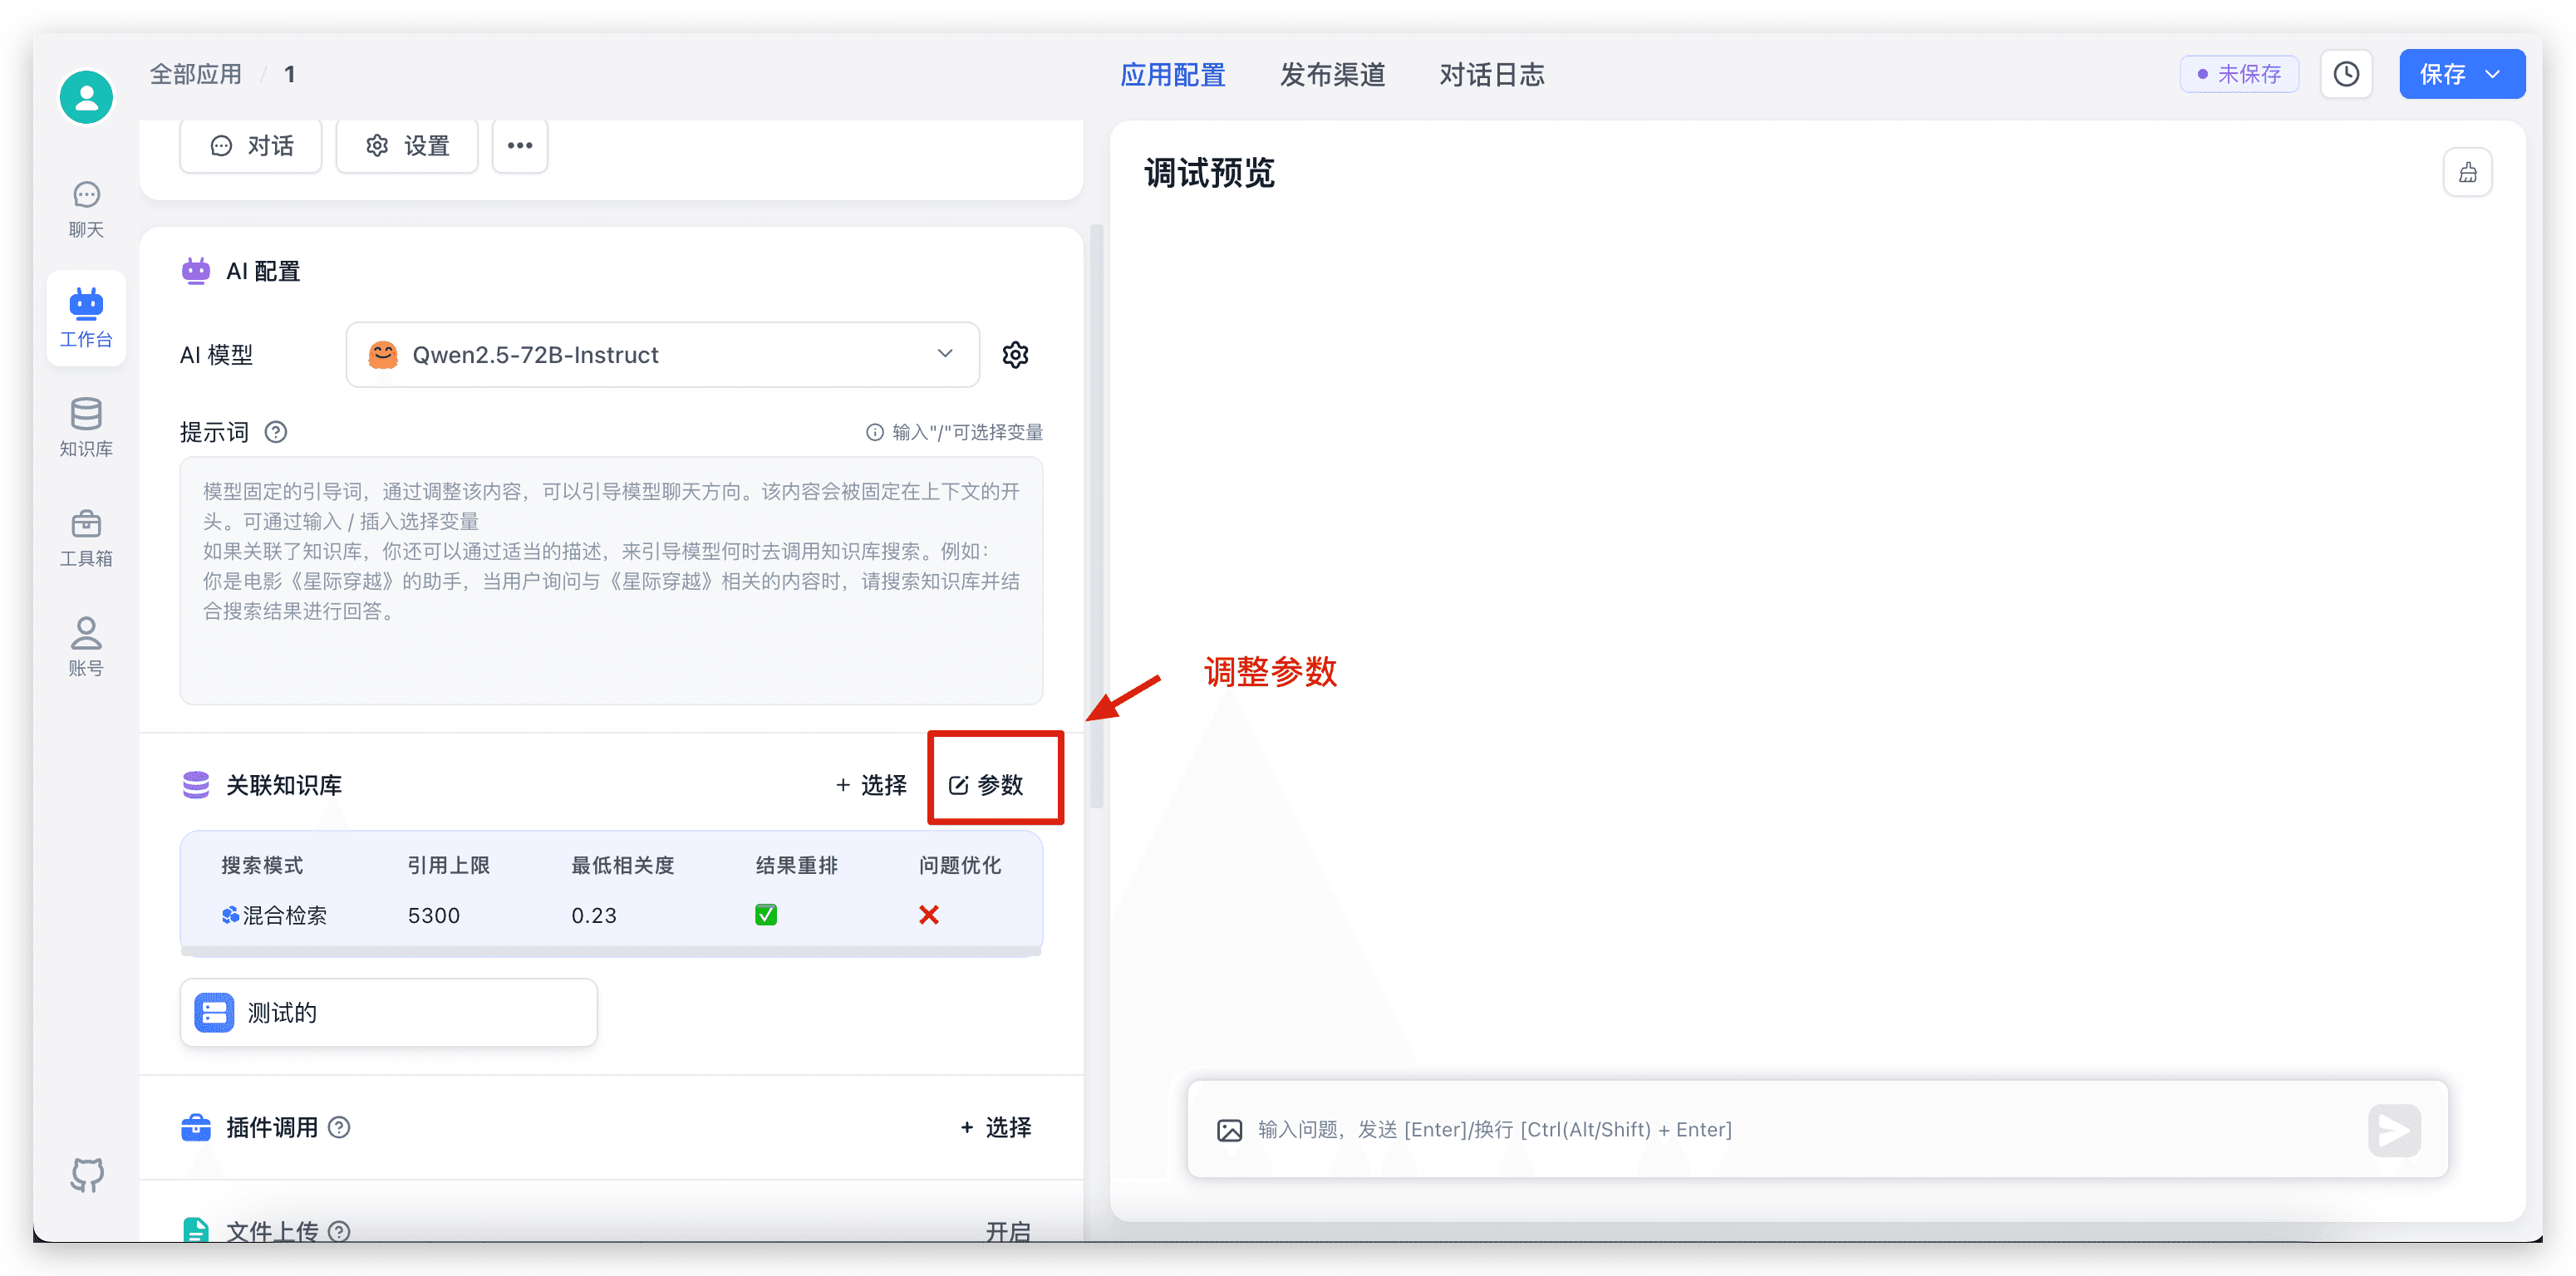
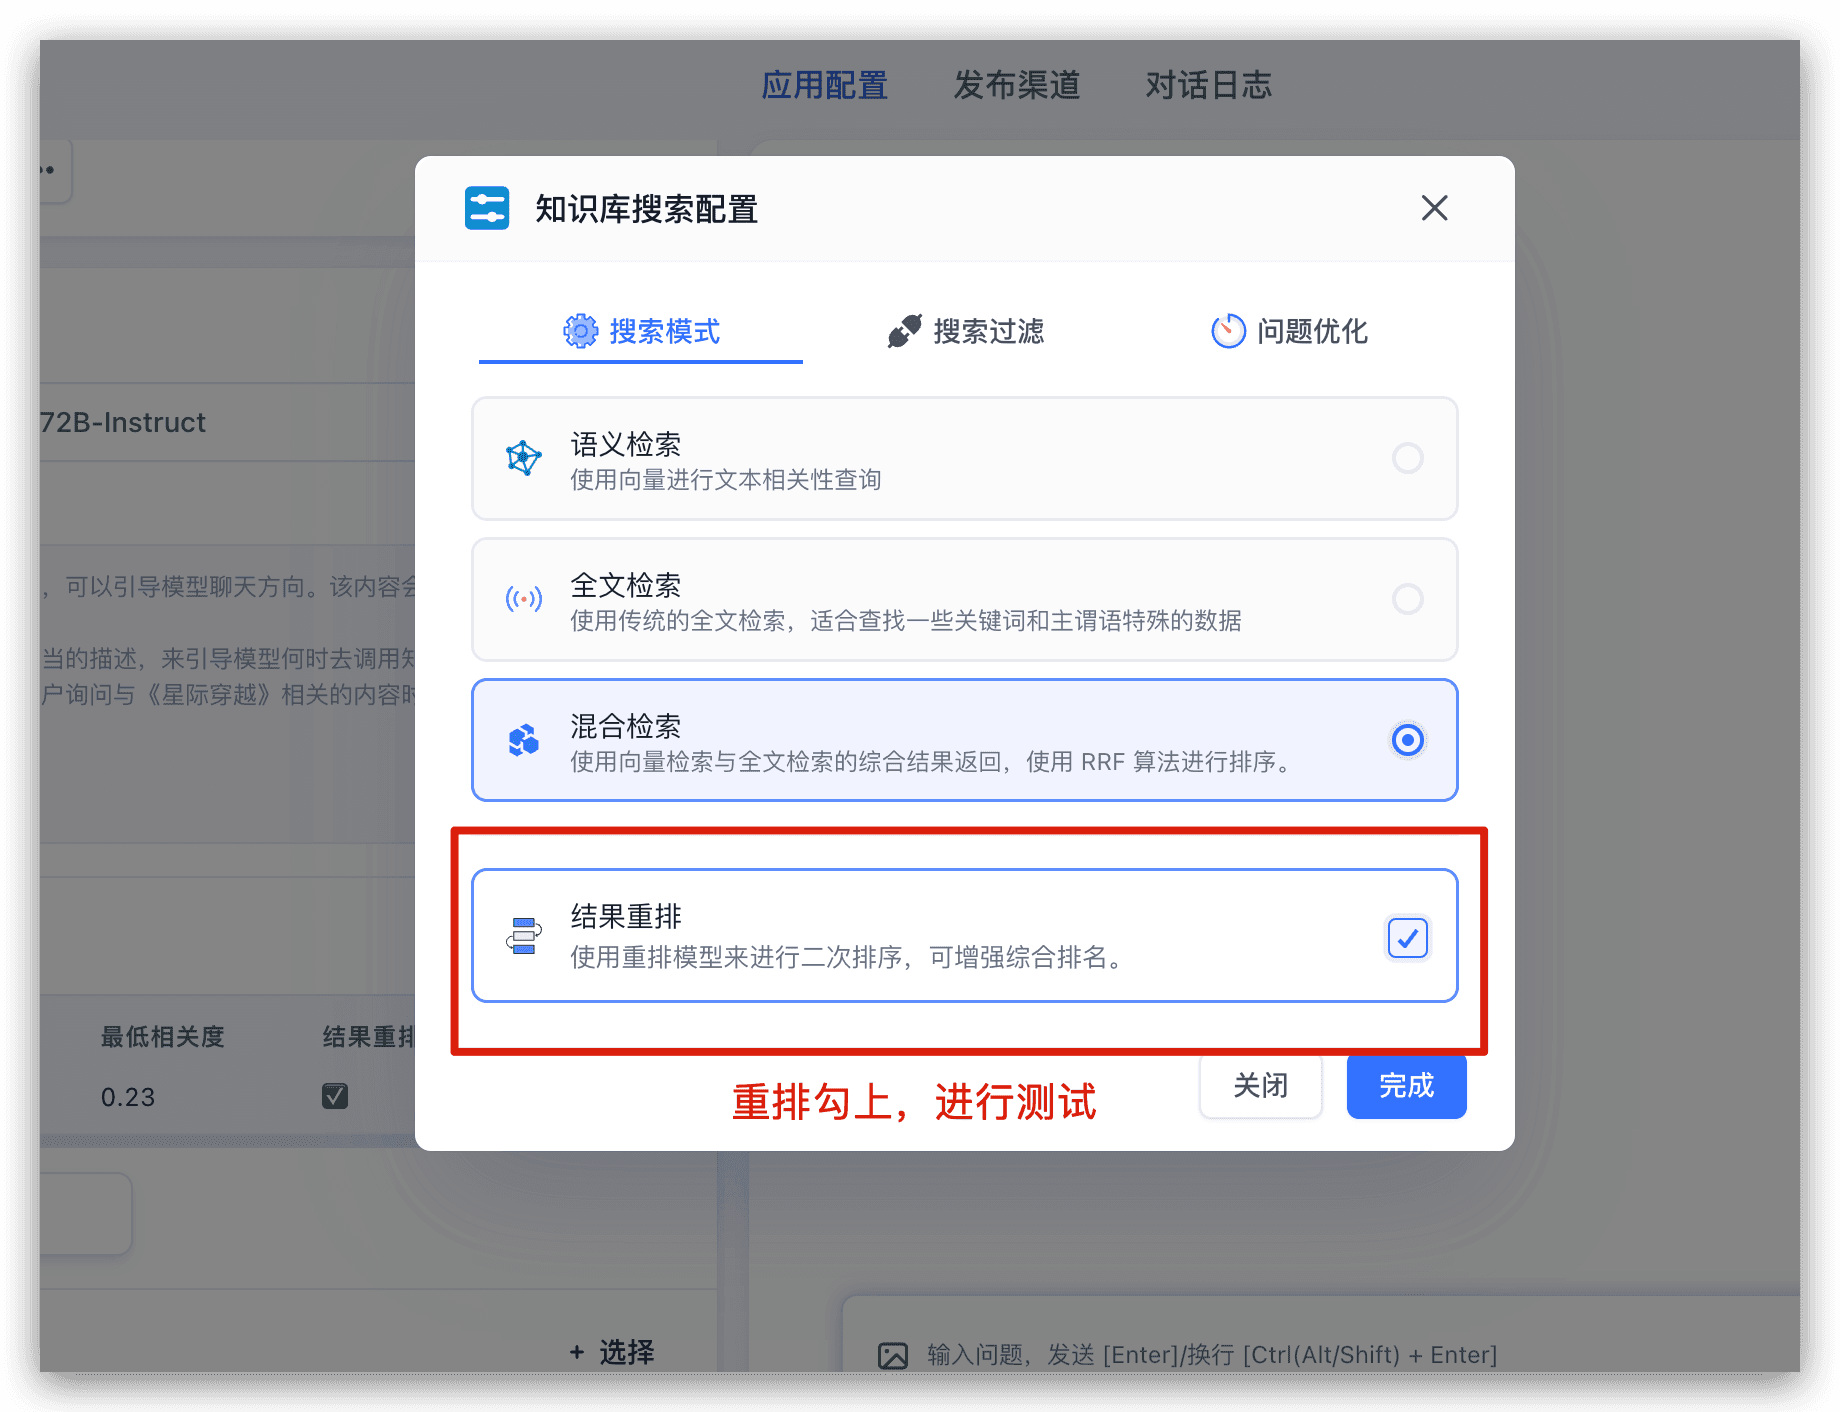
首先回到我们刚创建的应用,选择知识库,调整一下参数后即可开始对话:
 |  |  |
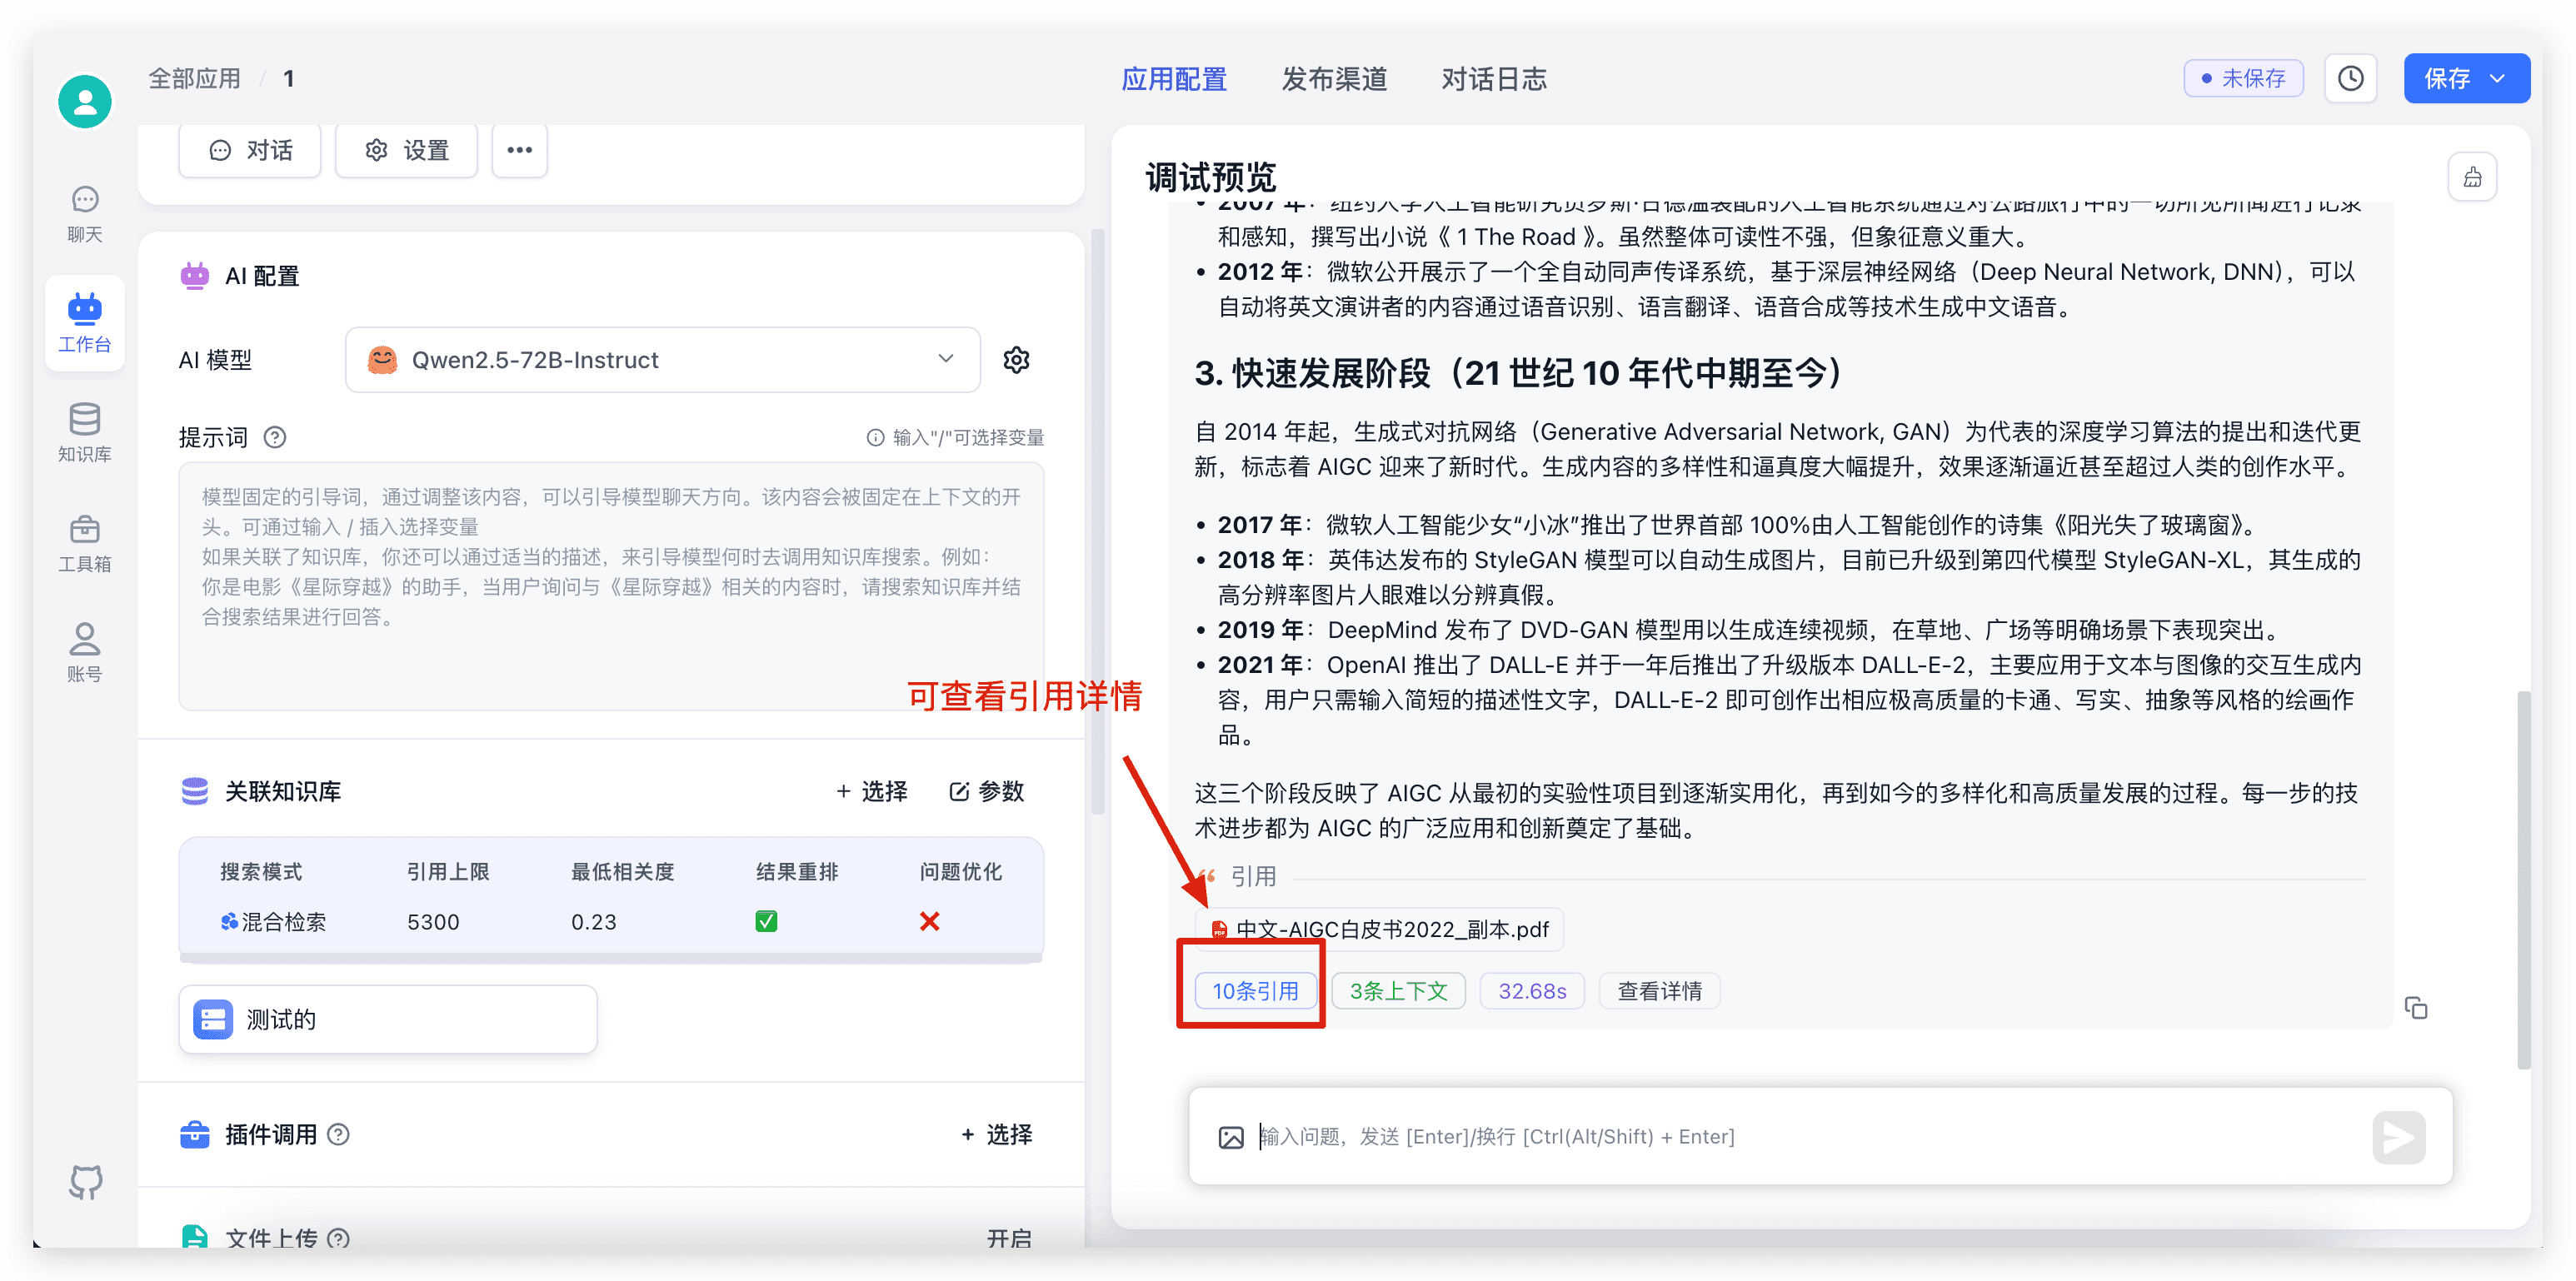
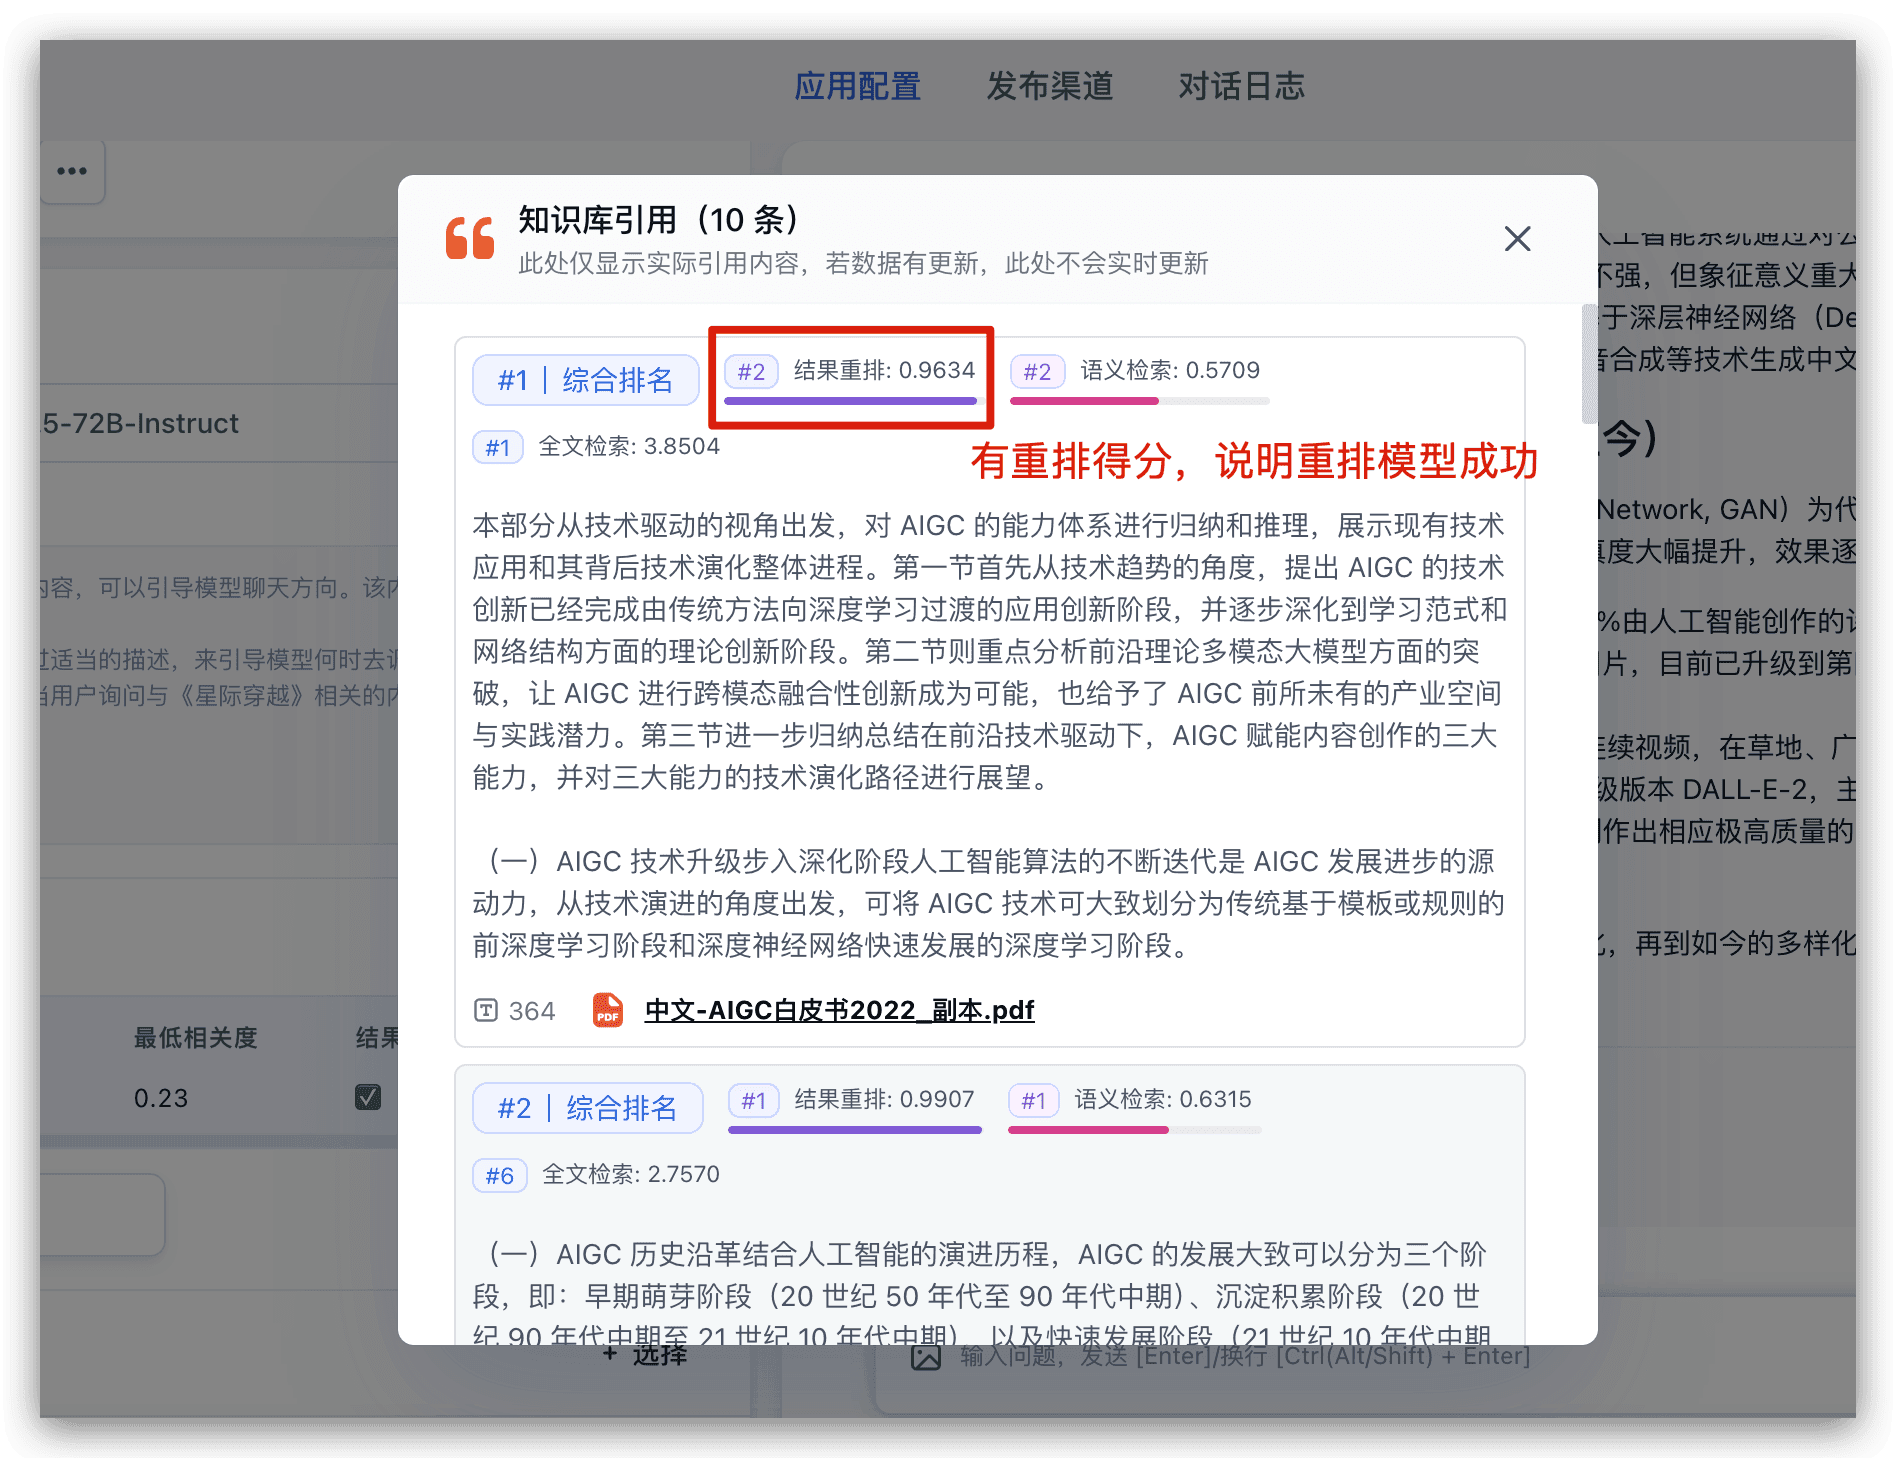
对话完成后,点击底部的引用,可以查看引用详情,同时可以看到具体的检索和重排得分:
 |  |
测试语音播放
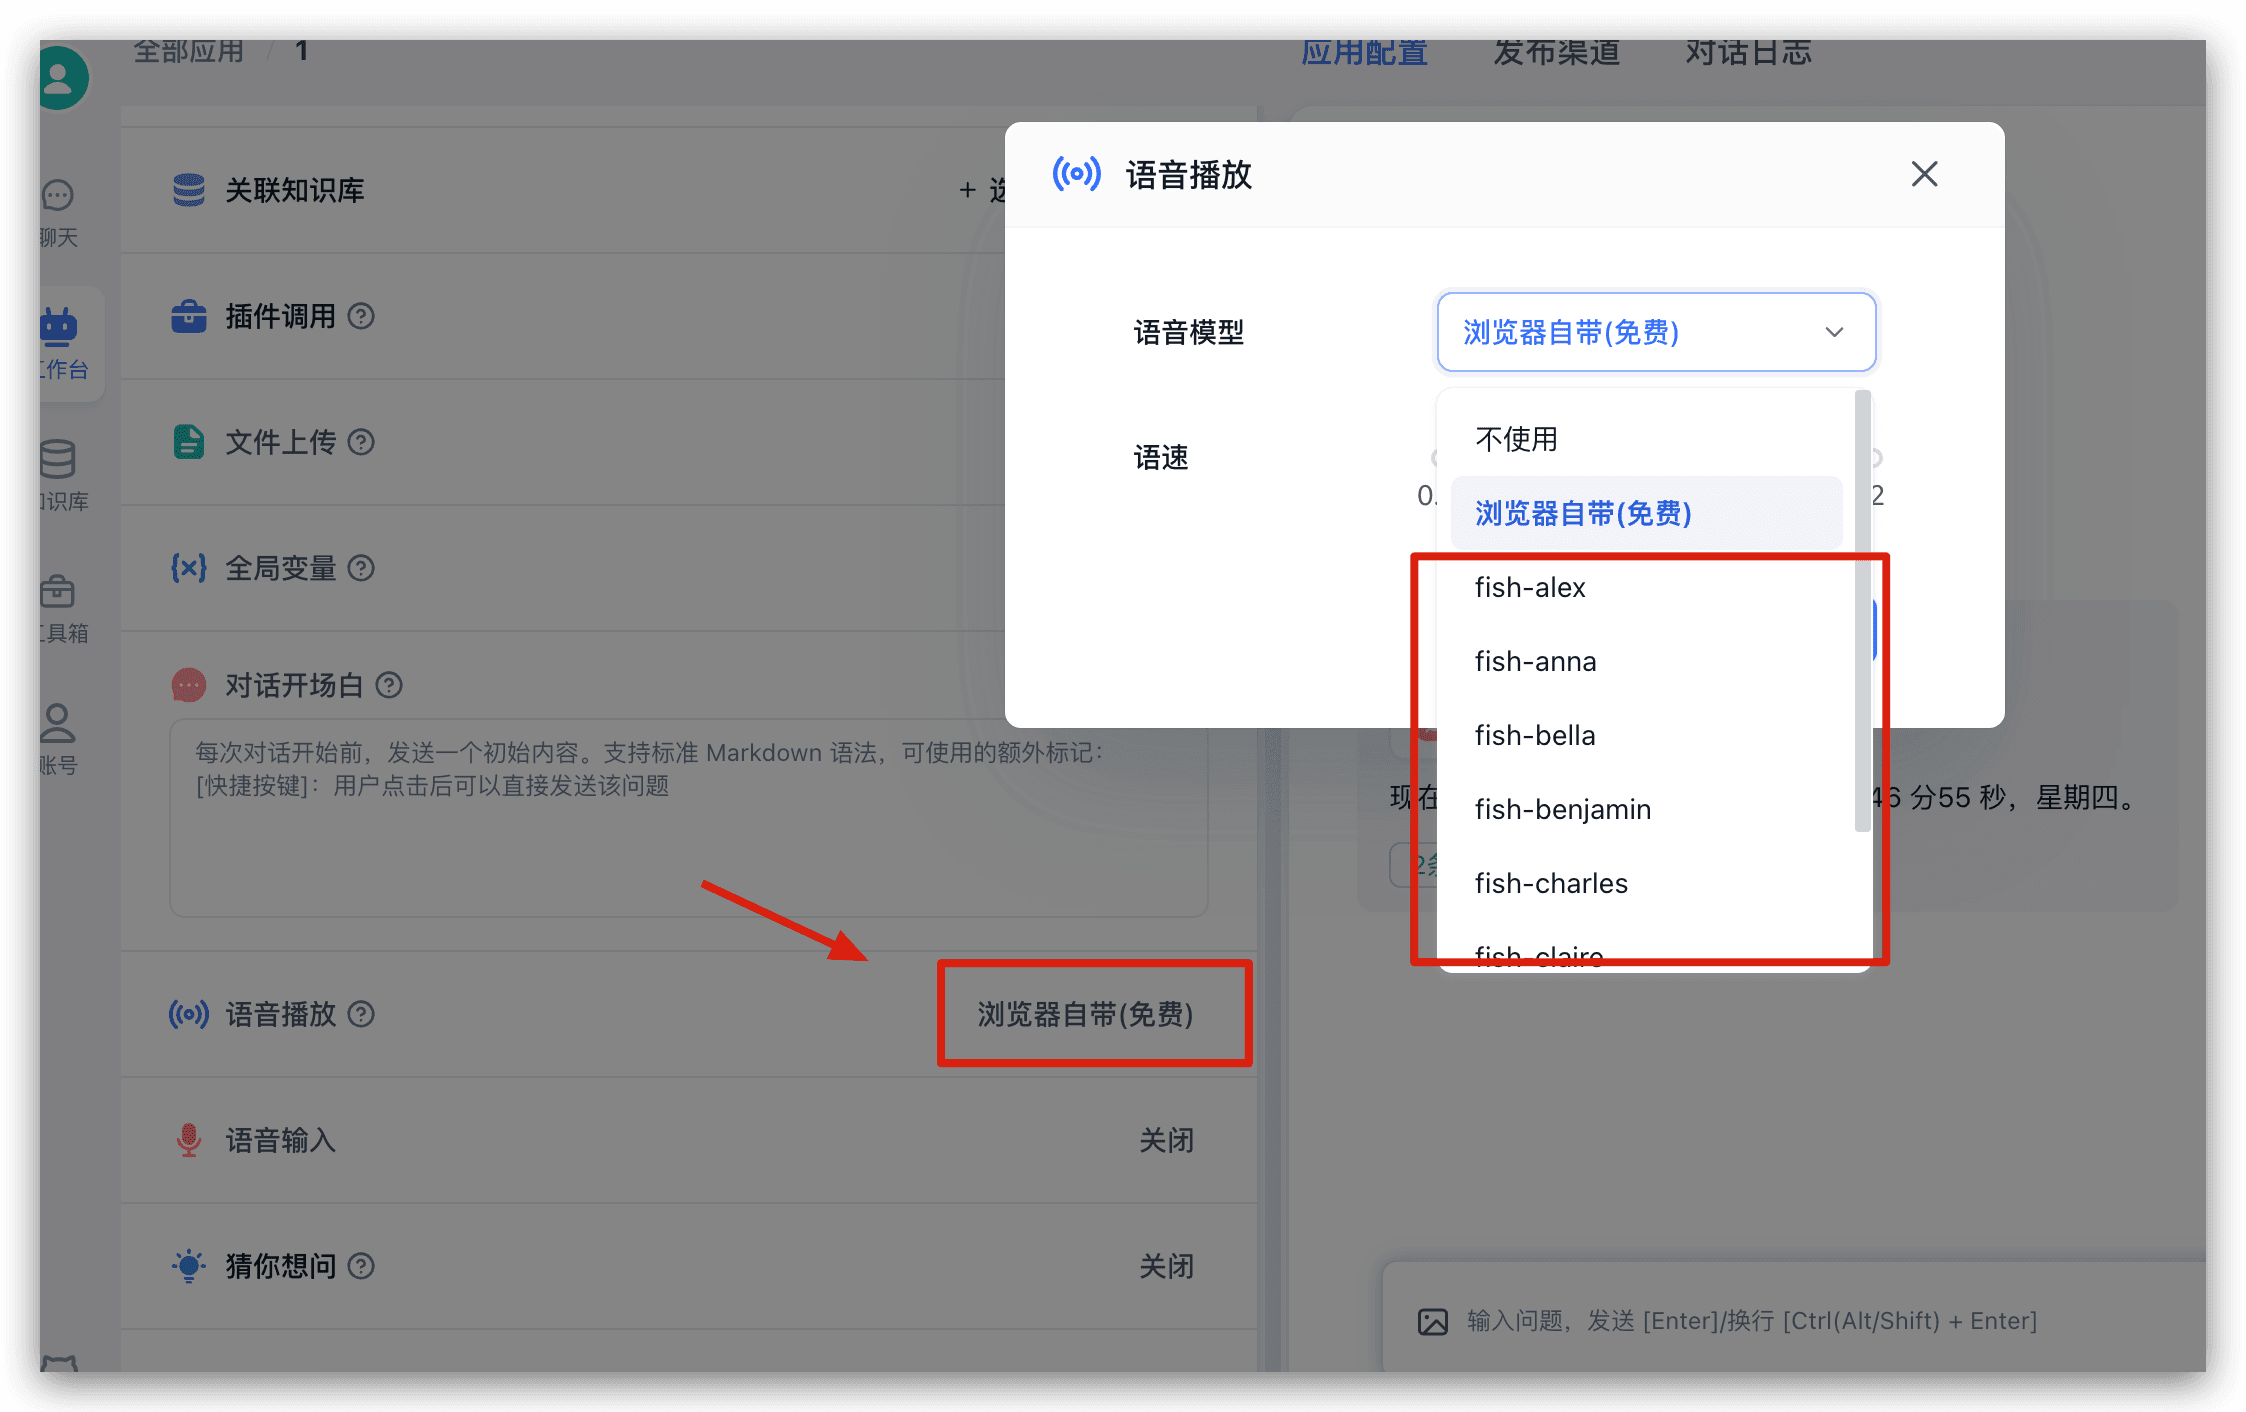
继续在刚刚的应用中,左侧配置中找到语音播放,点击后可以从弹窗中选择语音模型,并进行试听:
测试语言输入
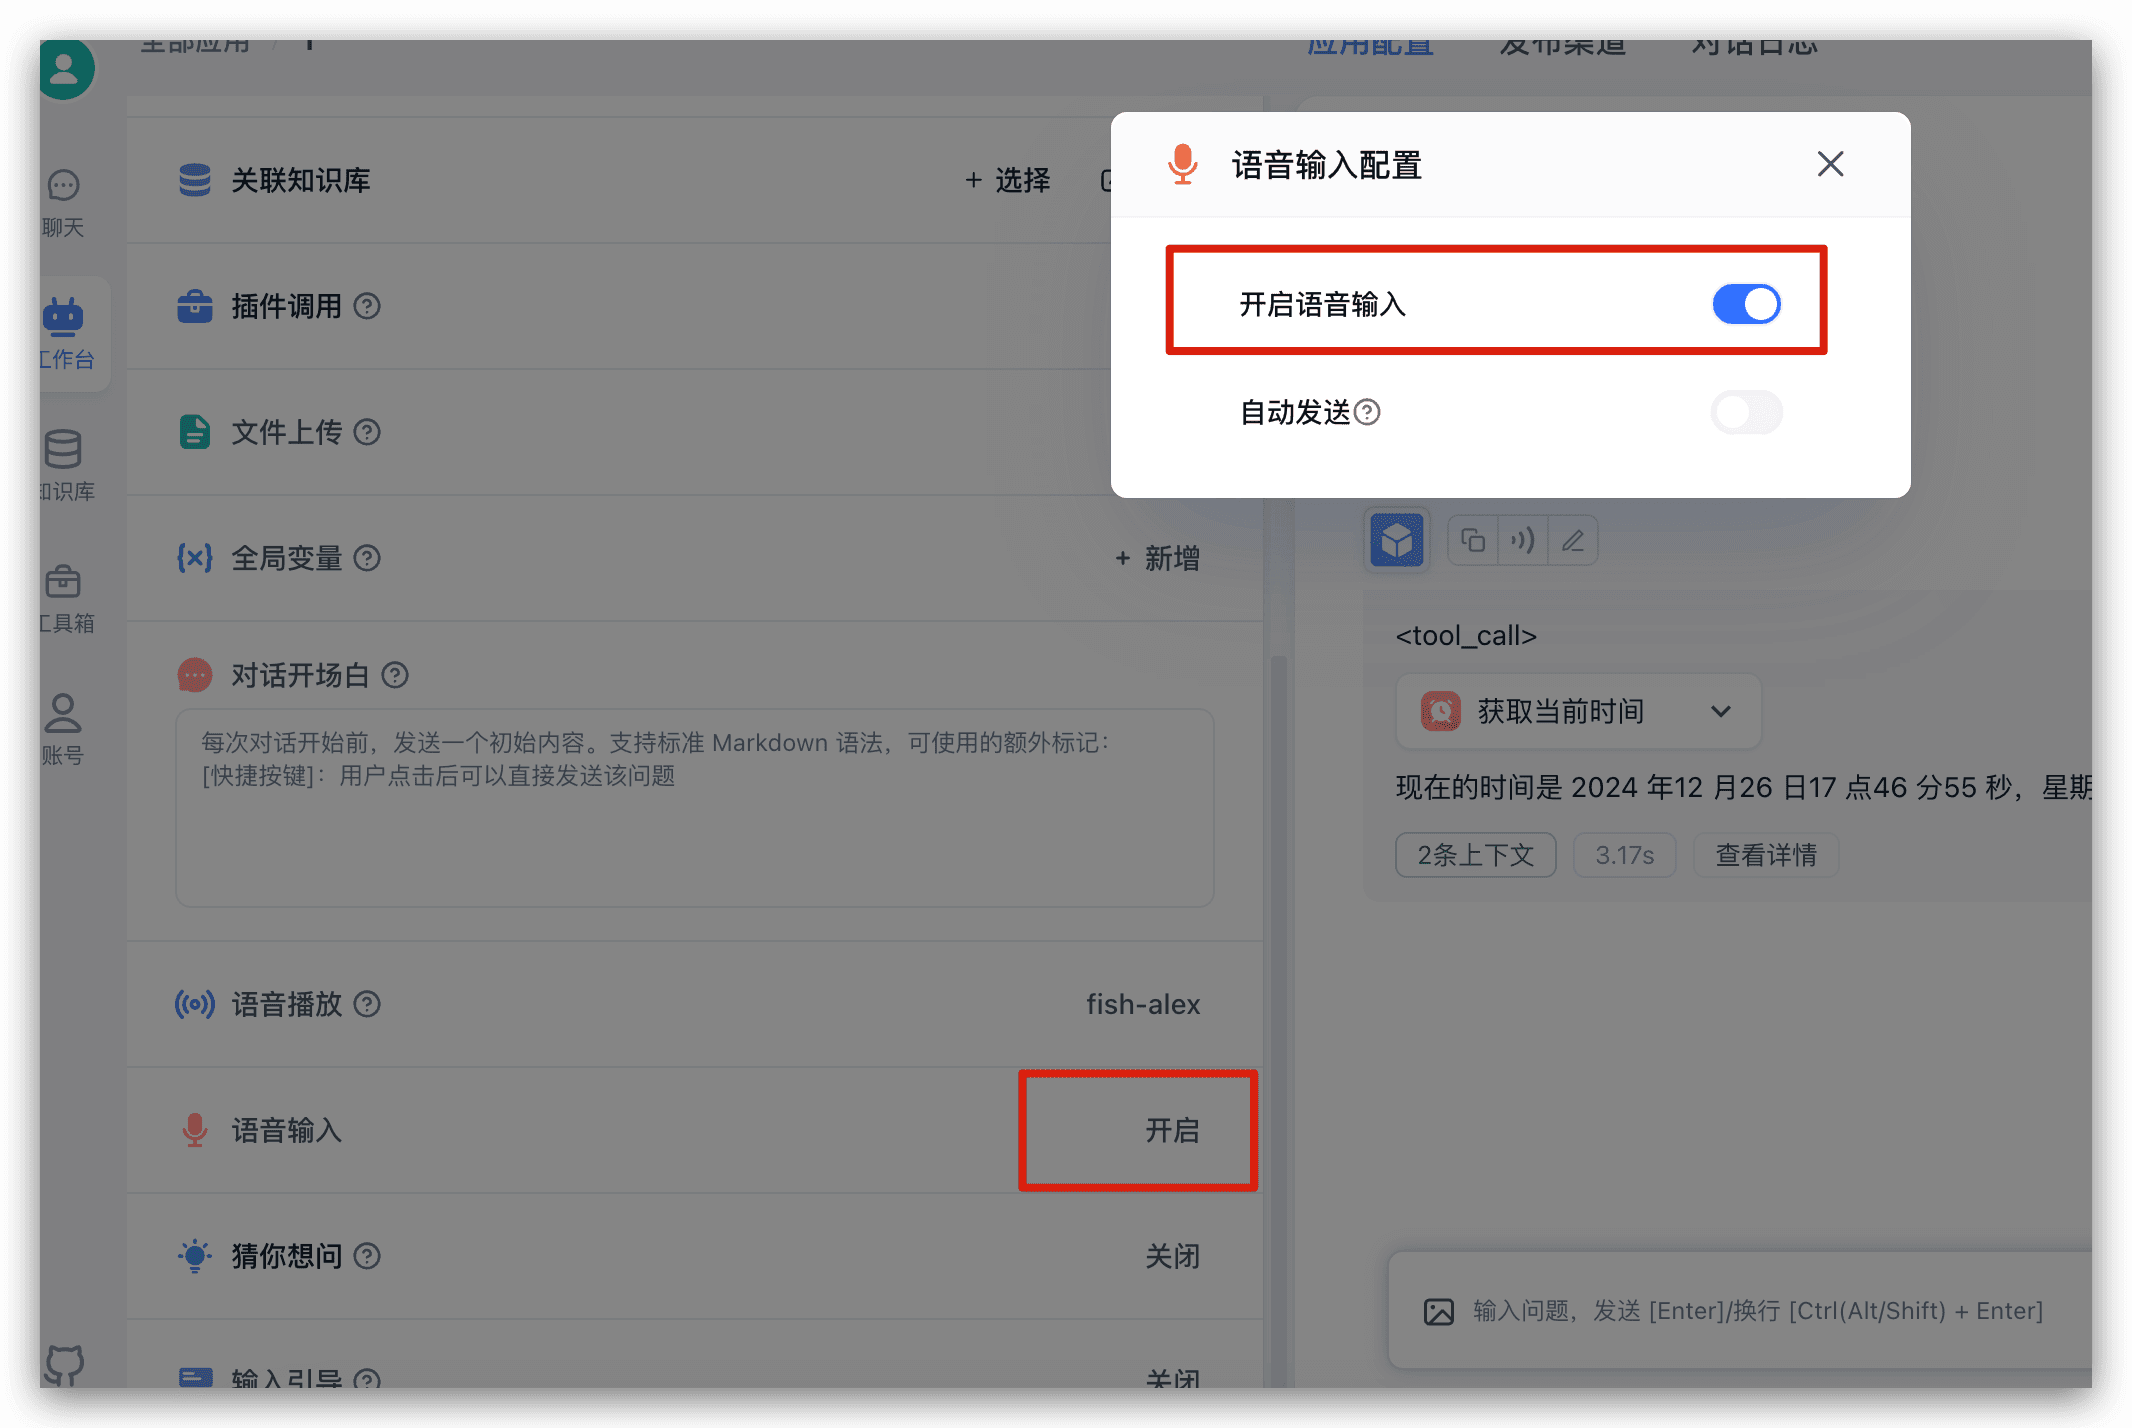
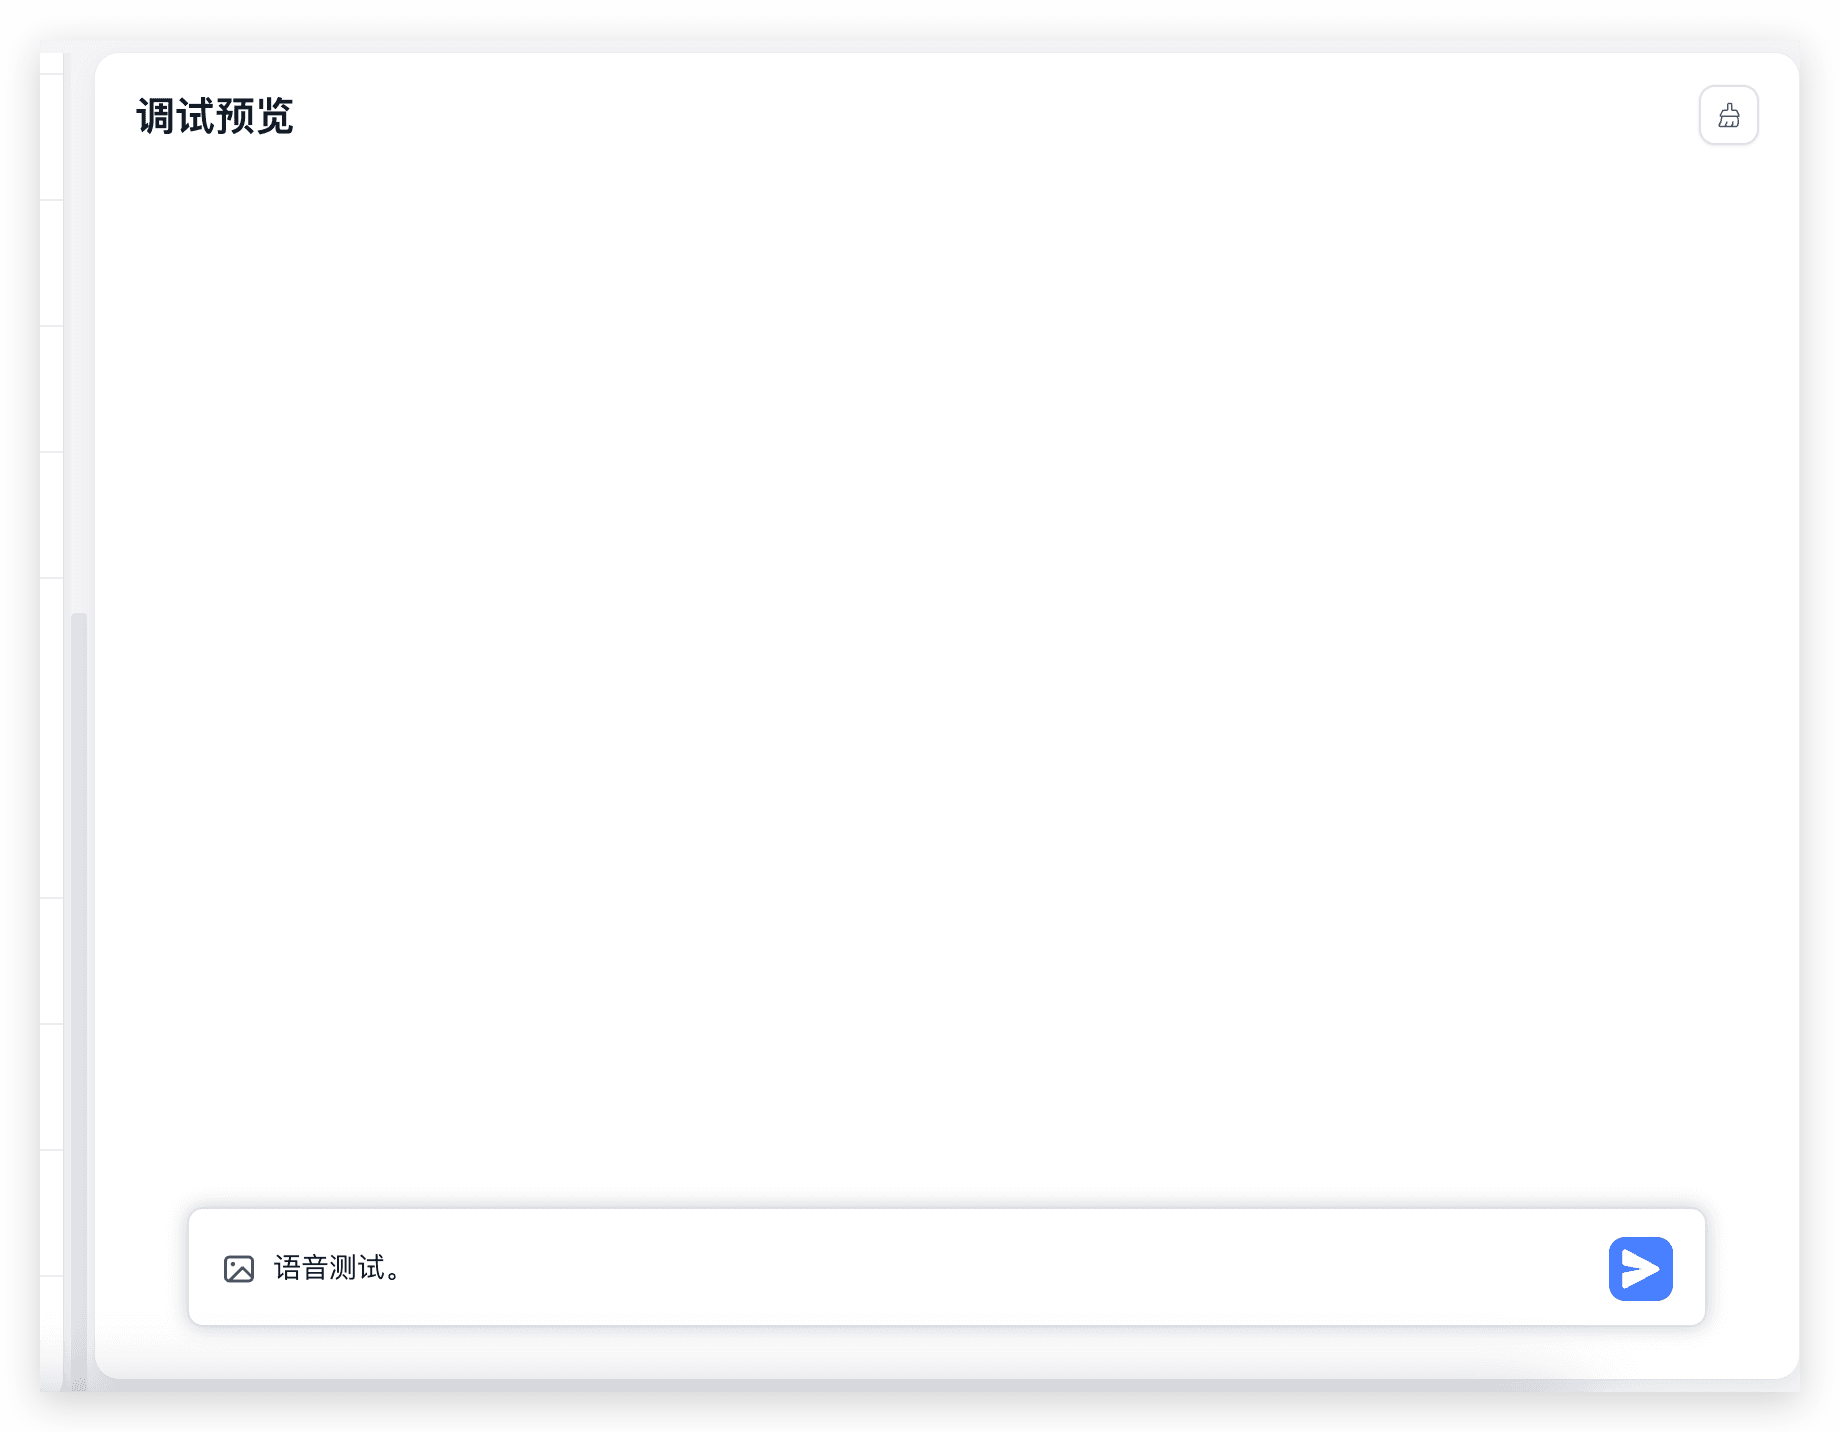
继续在刚刚的应用中,左侧配置中找到语音输入,点击后可以从弹窗中开启语言输入
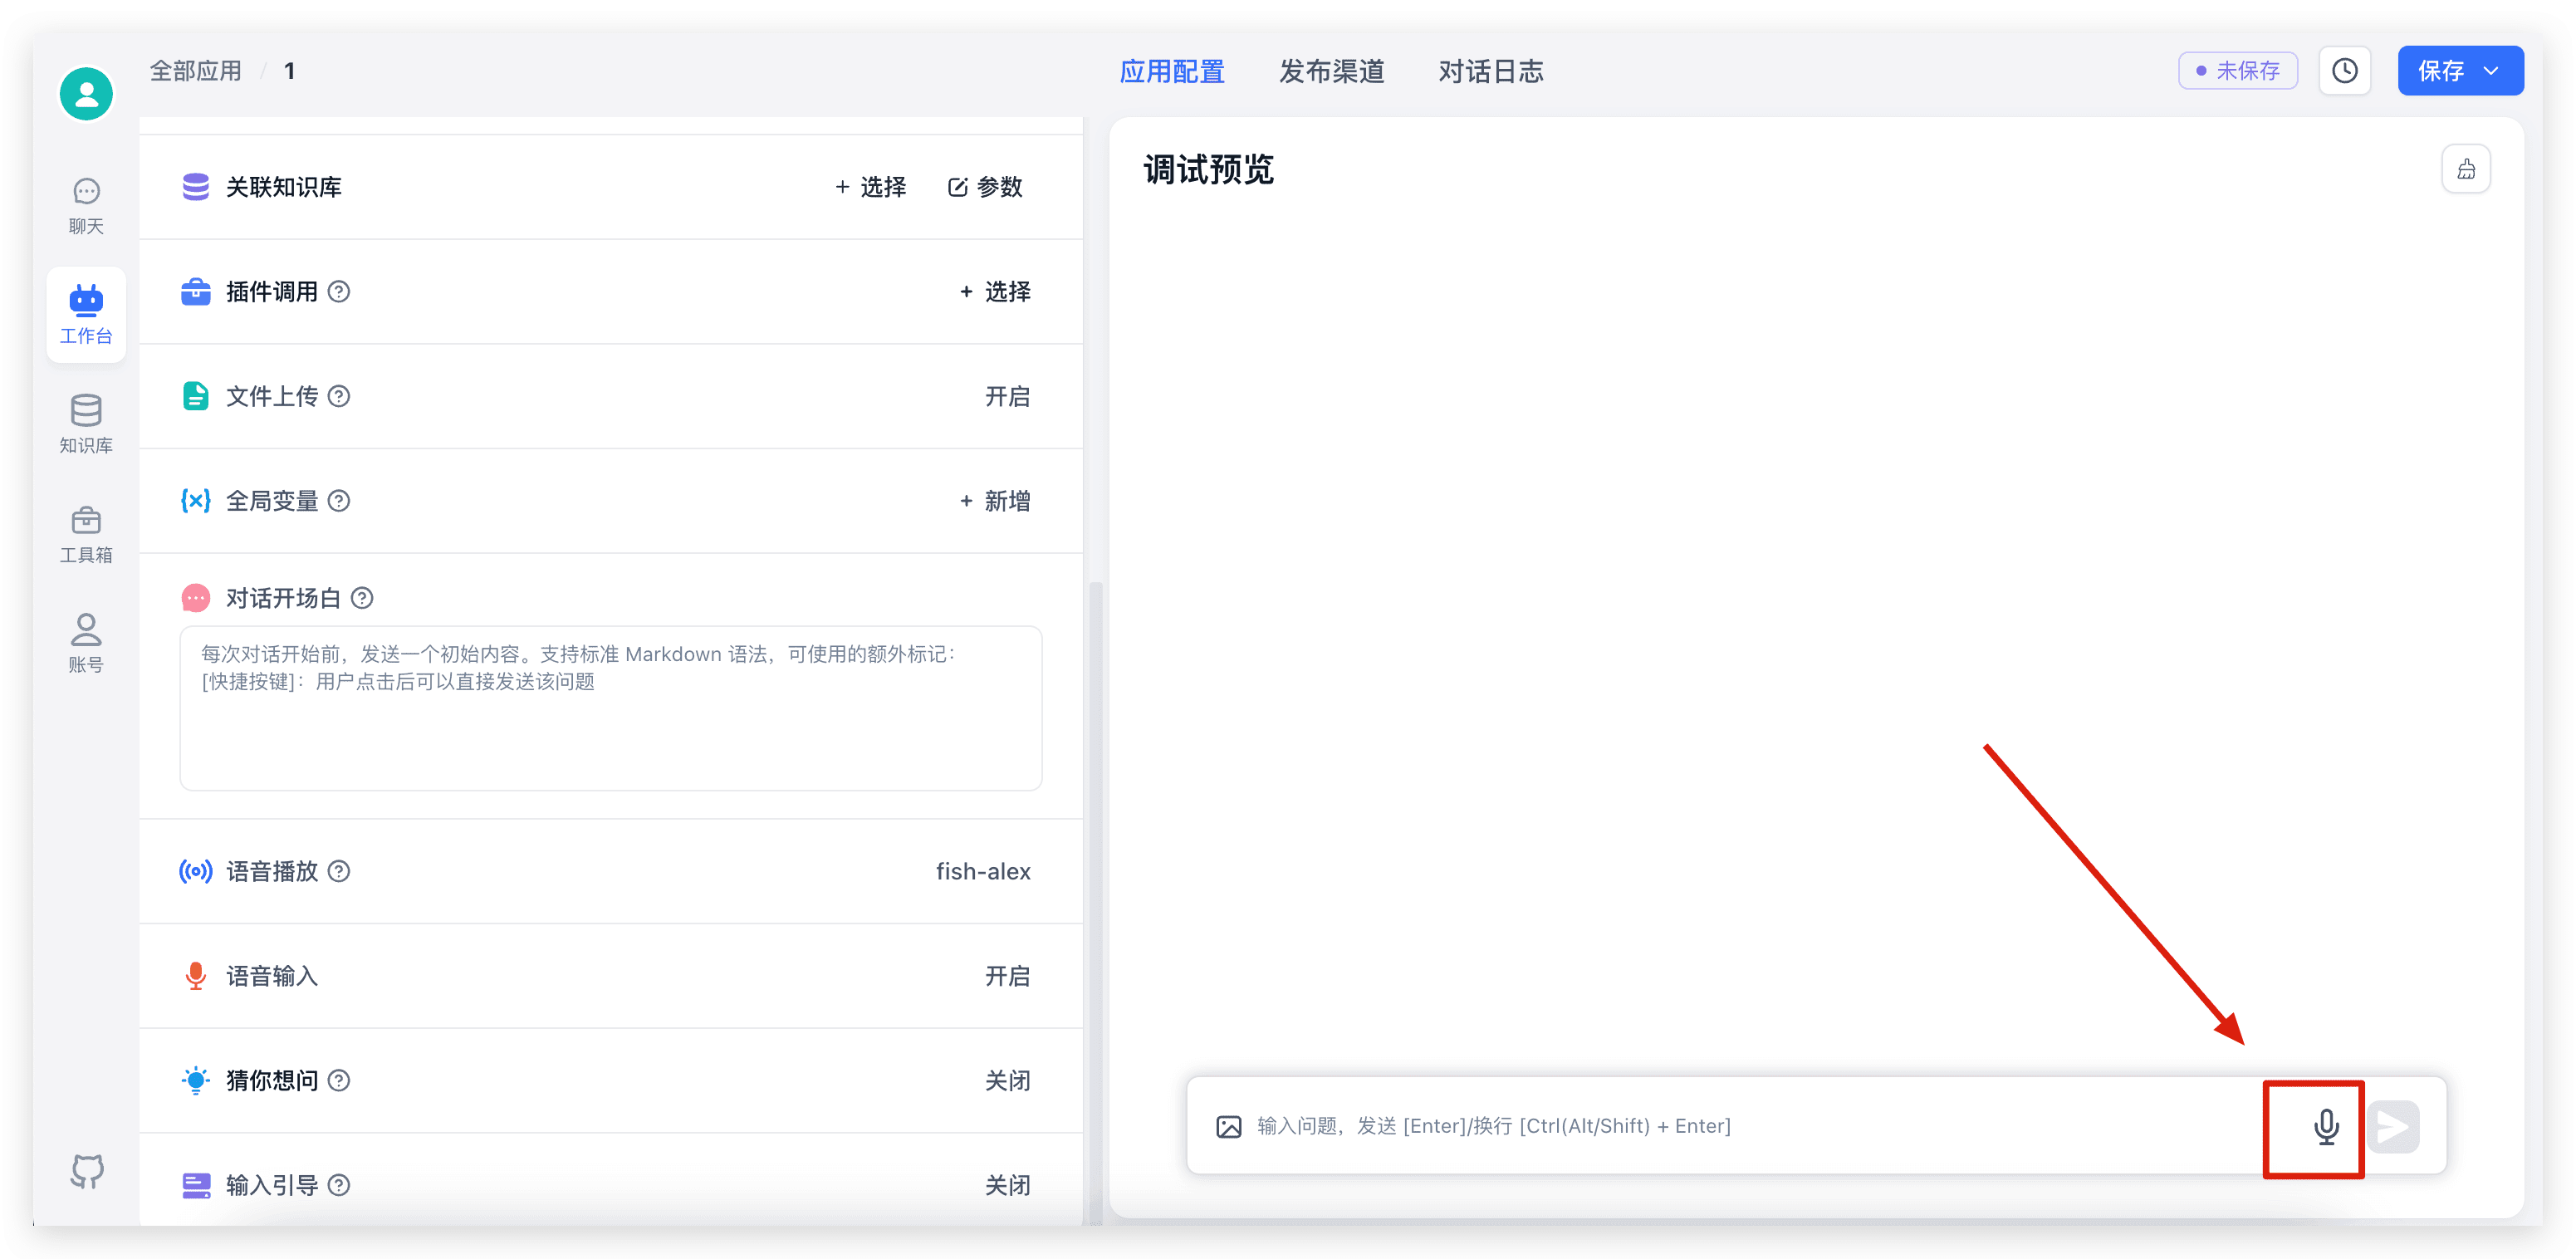
开启后,对话输入框中,会增加一个话筒的图标,点击可进行语音输入:
 |  |
总结
如果你想快速的体验开源模型或者快速的使用 FastGPT,不想在不同服务商申请各类 Api Key,那么可以选择 SiliconFlow 的模型先进行快速体验。
如果你决定未来私有化部署模型和 FastGPT,前期可通过 SiliconFlow 进行测试验证,后期再进行硬件采购,减少 POC 时间和成本。