关于 Chat2Graph
Chat2Graph 是一个图原生的智能体系统(Graph Native Agentic System),通过利用图数据结构在关系建模、可解释性等符号主义的天然优势,对智能体的推理、规划、记忆、知识、工具协作等关键能力进行增强,同时借助智能体技术推进图数据库智能化,降低用图门槛,加速内容生成,实现与图对话。做到图计算技术与人工智能技术的深度融合。
获取 API Key
- 打开 SiliconFlow 官网 并注册账号(如果注册过,直接登录即可)。
- 完成注册后,打开 API密钥 ,创建新的 API Key,点击密钥进行复制,以备后续使用。
部署 Chat2Graph
下载 Chat2Graph
git clone https://github.com/TuGraph-family/chat2graph.git
准备执行环境
准备符合要求的 Python 和 NodeJS 版本。
您可以使用 conda
等工具来管理您的 Python 环境:
conda create -n chat2graph_env python=3.10
conda activate chat2graph_env
构建 Chat2Graph
一键构建 Chat2Graph:
cd chat2graph
./bin/build.sh
配置 SiliconFlow 模型
准备 .env
配置文件:
cp .env.template .env && vim .env
填写 SiliconFlow 模型配置:
LLM_NAME=deepseek-ai/DeepSeek-V3
LLM_ENDPOINT=https://api.siliconflow.cn/v1
LLM_APIKEY={your-siliconflow-api-key}
EMBEDDING_MODEL_NAME=BAAI/bge-large-zh-v1.5
EMBEDDING_MODEL_ENDPOINT=https://api.siliconflow.cn/v1/embeddings
EMBEDDING_MODEL_APIKEY={your-siliconflow-api-key}
启动 Chat2Graph
一键启动 Chat2Graph:
当看到如下日志时,表示 Chat2Graph 已成功启动:
Starting server...
Web resources location: /Users/florian/code/chat2graph/app/server/web
System database url: sqlite:////Users/florian/.chat2graph/system/chat2graph.db
Loading AgenticService from app/core/sdk/chat2graph.yml with encoding utf-8
Init application: Chat2Graph
Init the Leader agent
Init the Expert agents
____ _ _ ____ ____ _
/ ___| |__ __ _| |_|___ \ / ___|_ __ __ _ _ __ | |__
| | | '_ \ / _` | __| __) | | _| '__/ _` | '_ \| '_ \
| |___| | | | (_| | |_ / __/| |_| | | | (_| | |_) | | | |
\____|_| |_|\__,_|\__|_____|\____|_| \__,_| .__/|_| |_|
|_|
* Serving Flask app 'bootstrap'
* Debug mode: off
WARNING: This is a development server. Do not use it in a production deployment. Use a production WSGI server instead.
* Running on all addresses (0.0.0.0)
* Running on http://127.0.0.1:5010
* Running on http://192.168.1.1:5010
Chat2Graph server started success !
使用 Chat2Graph
你可以在浏览器访问 http://localhost:5010/ 使用 Chat2Graph。
注册图数据库
提前注册图数据库实例,可以体验完整的 Chat2Graph 的「与图对话」功能。当前支持 Neo4j 和 TuGraph 图数据库。
启动 Neo4j 实例:
docker pull neo4j:latest
docker run -d -p 7474:7474 -p 7687:7687 --name neo4j-server --env NEO4J_AUTH=none \
--env NEO4J_PLUGINS='["apoc", "graph-data-science"]' neo4j:latest
启动 TuGraph 实例:
docker pull tugraph/tugraph-runtime-centos7:4.5.1
docker run -d -p 7070:7070 -p 7687:7687 -p 9090:9090 --name tugraph-server \
tugraph/tugraph-runtime-centos7:latest lgraph_server -d run --enable_plugin true
与图轻松对话
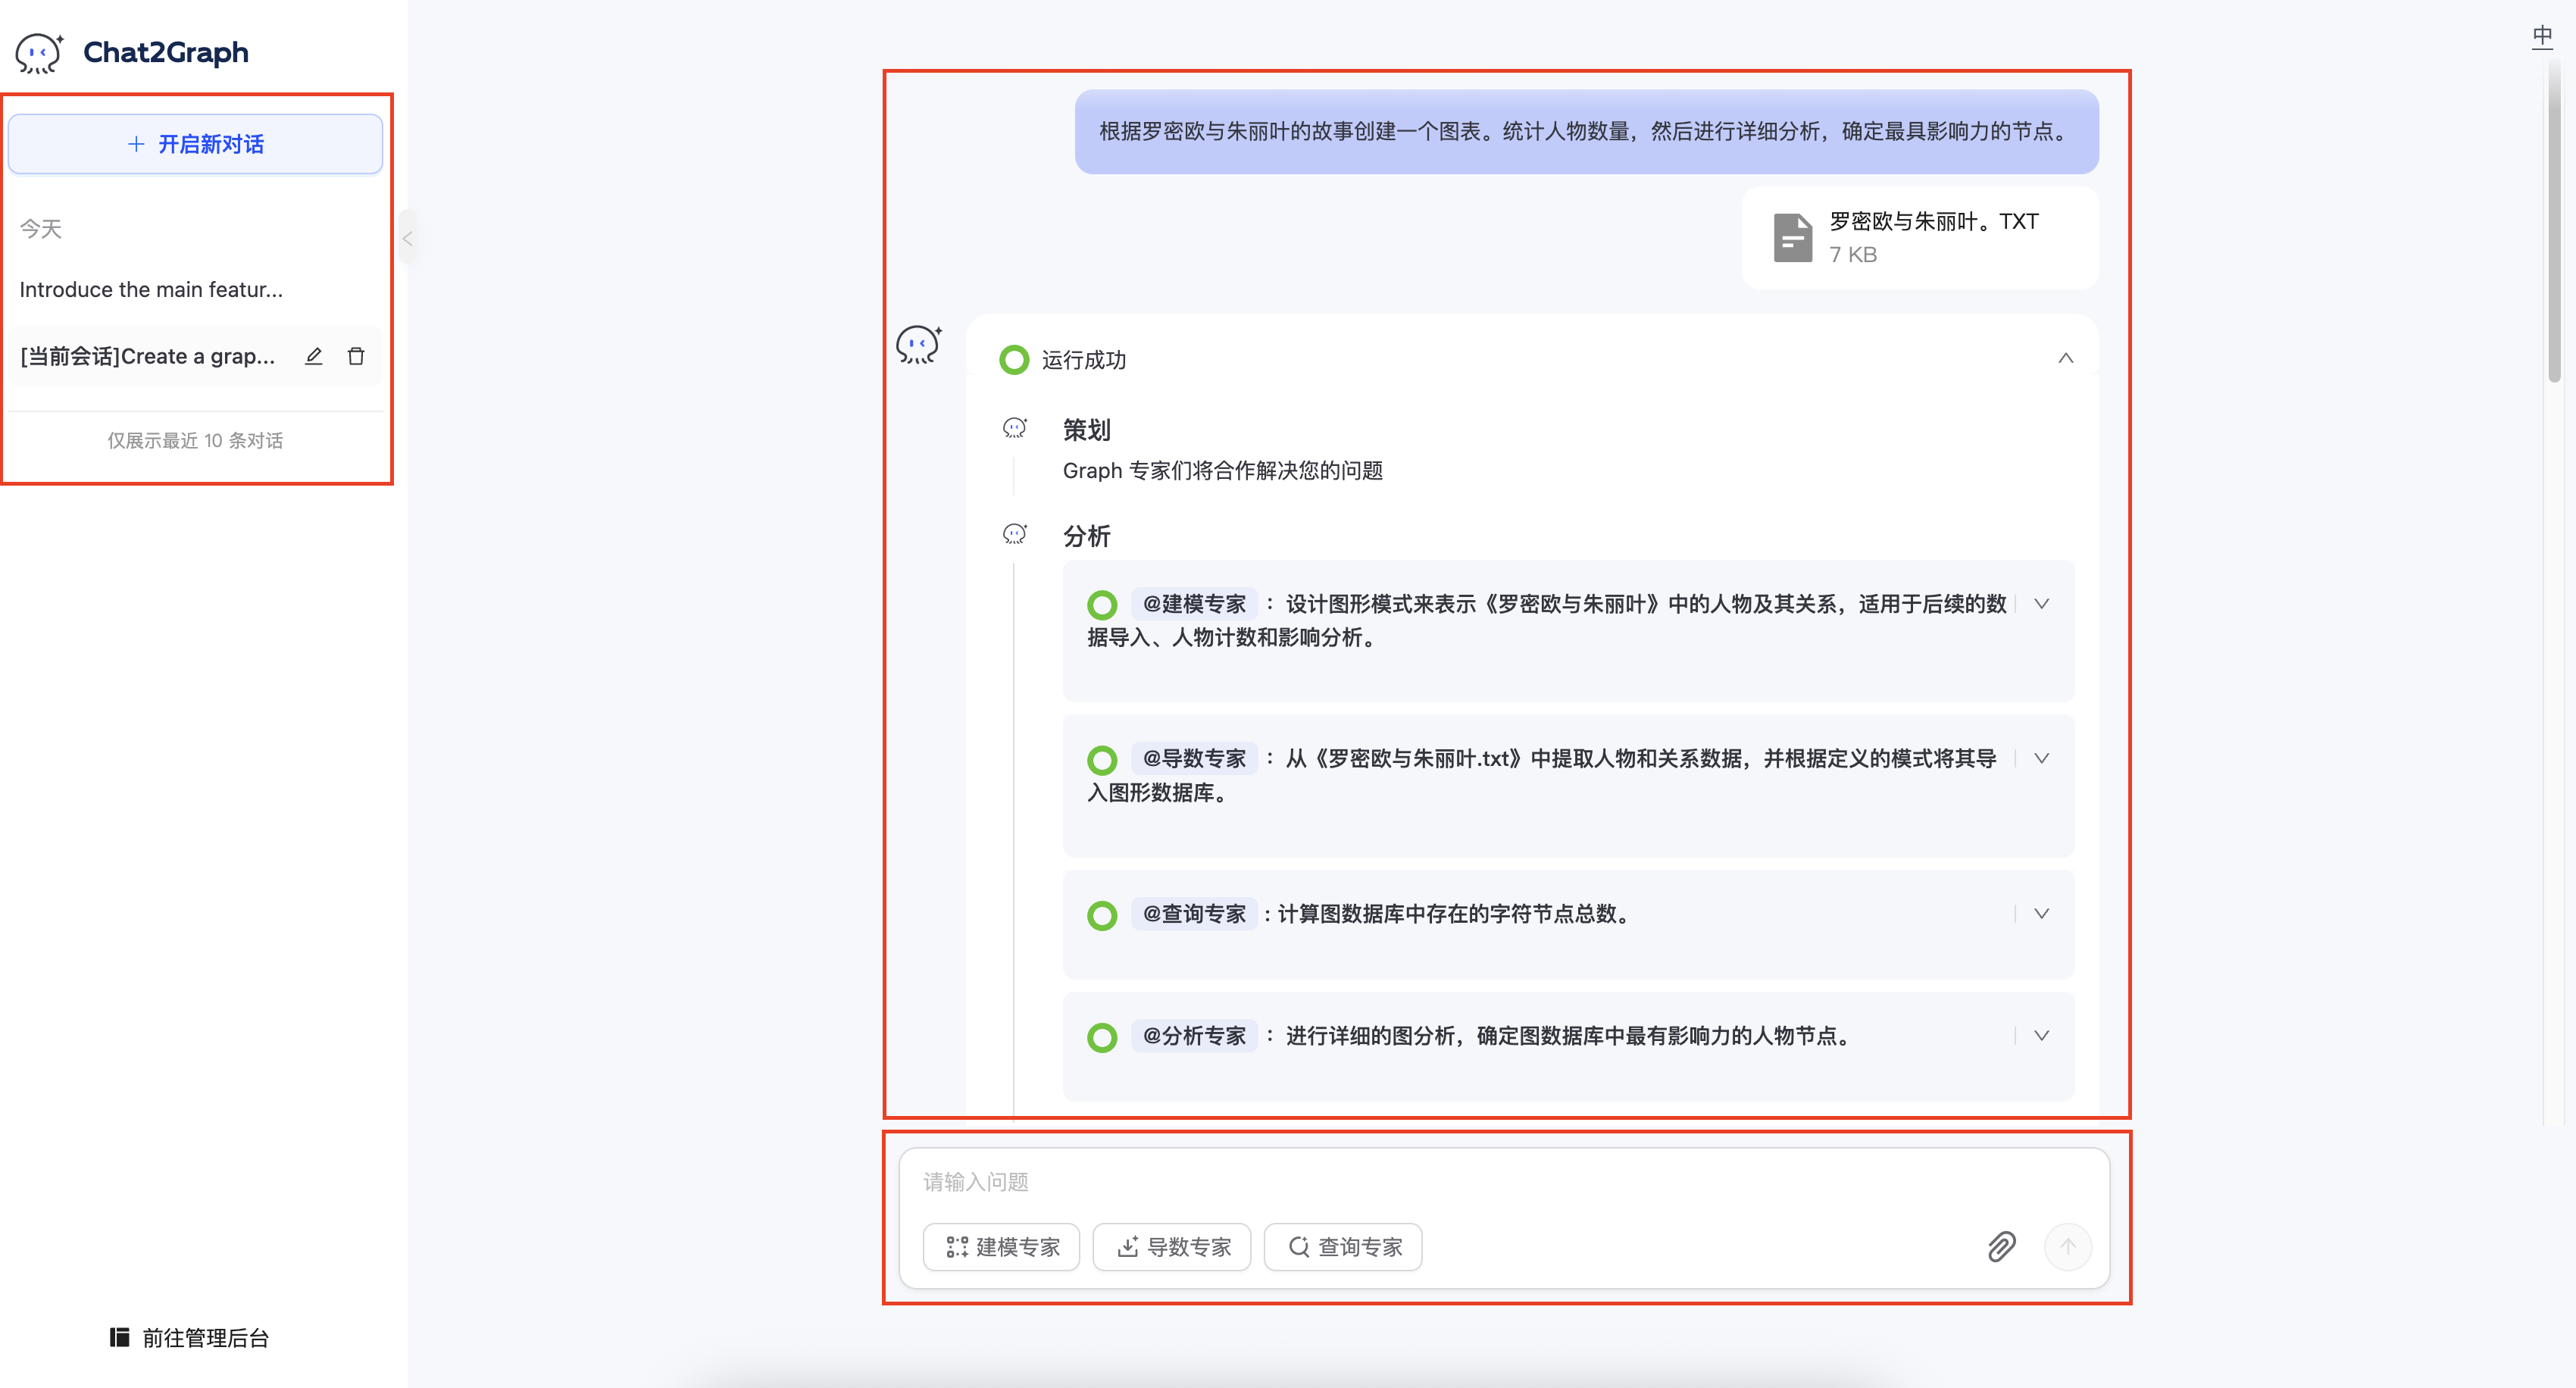
自动完成知识图谱的构建与分析任务:
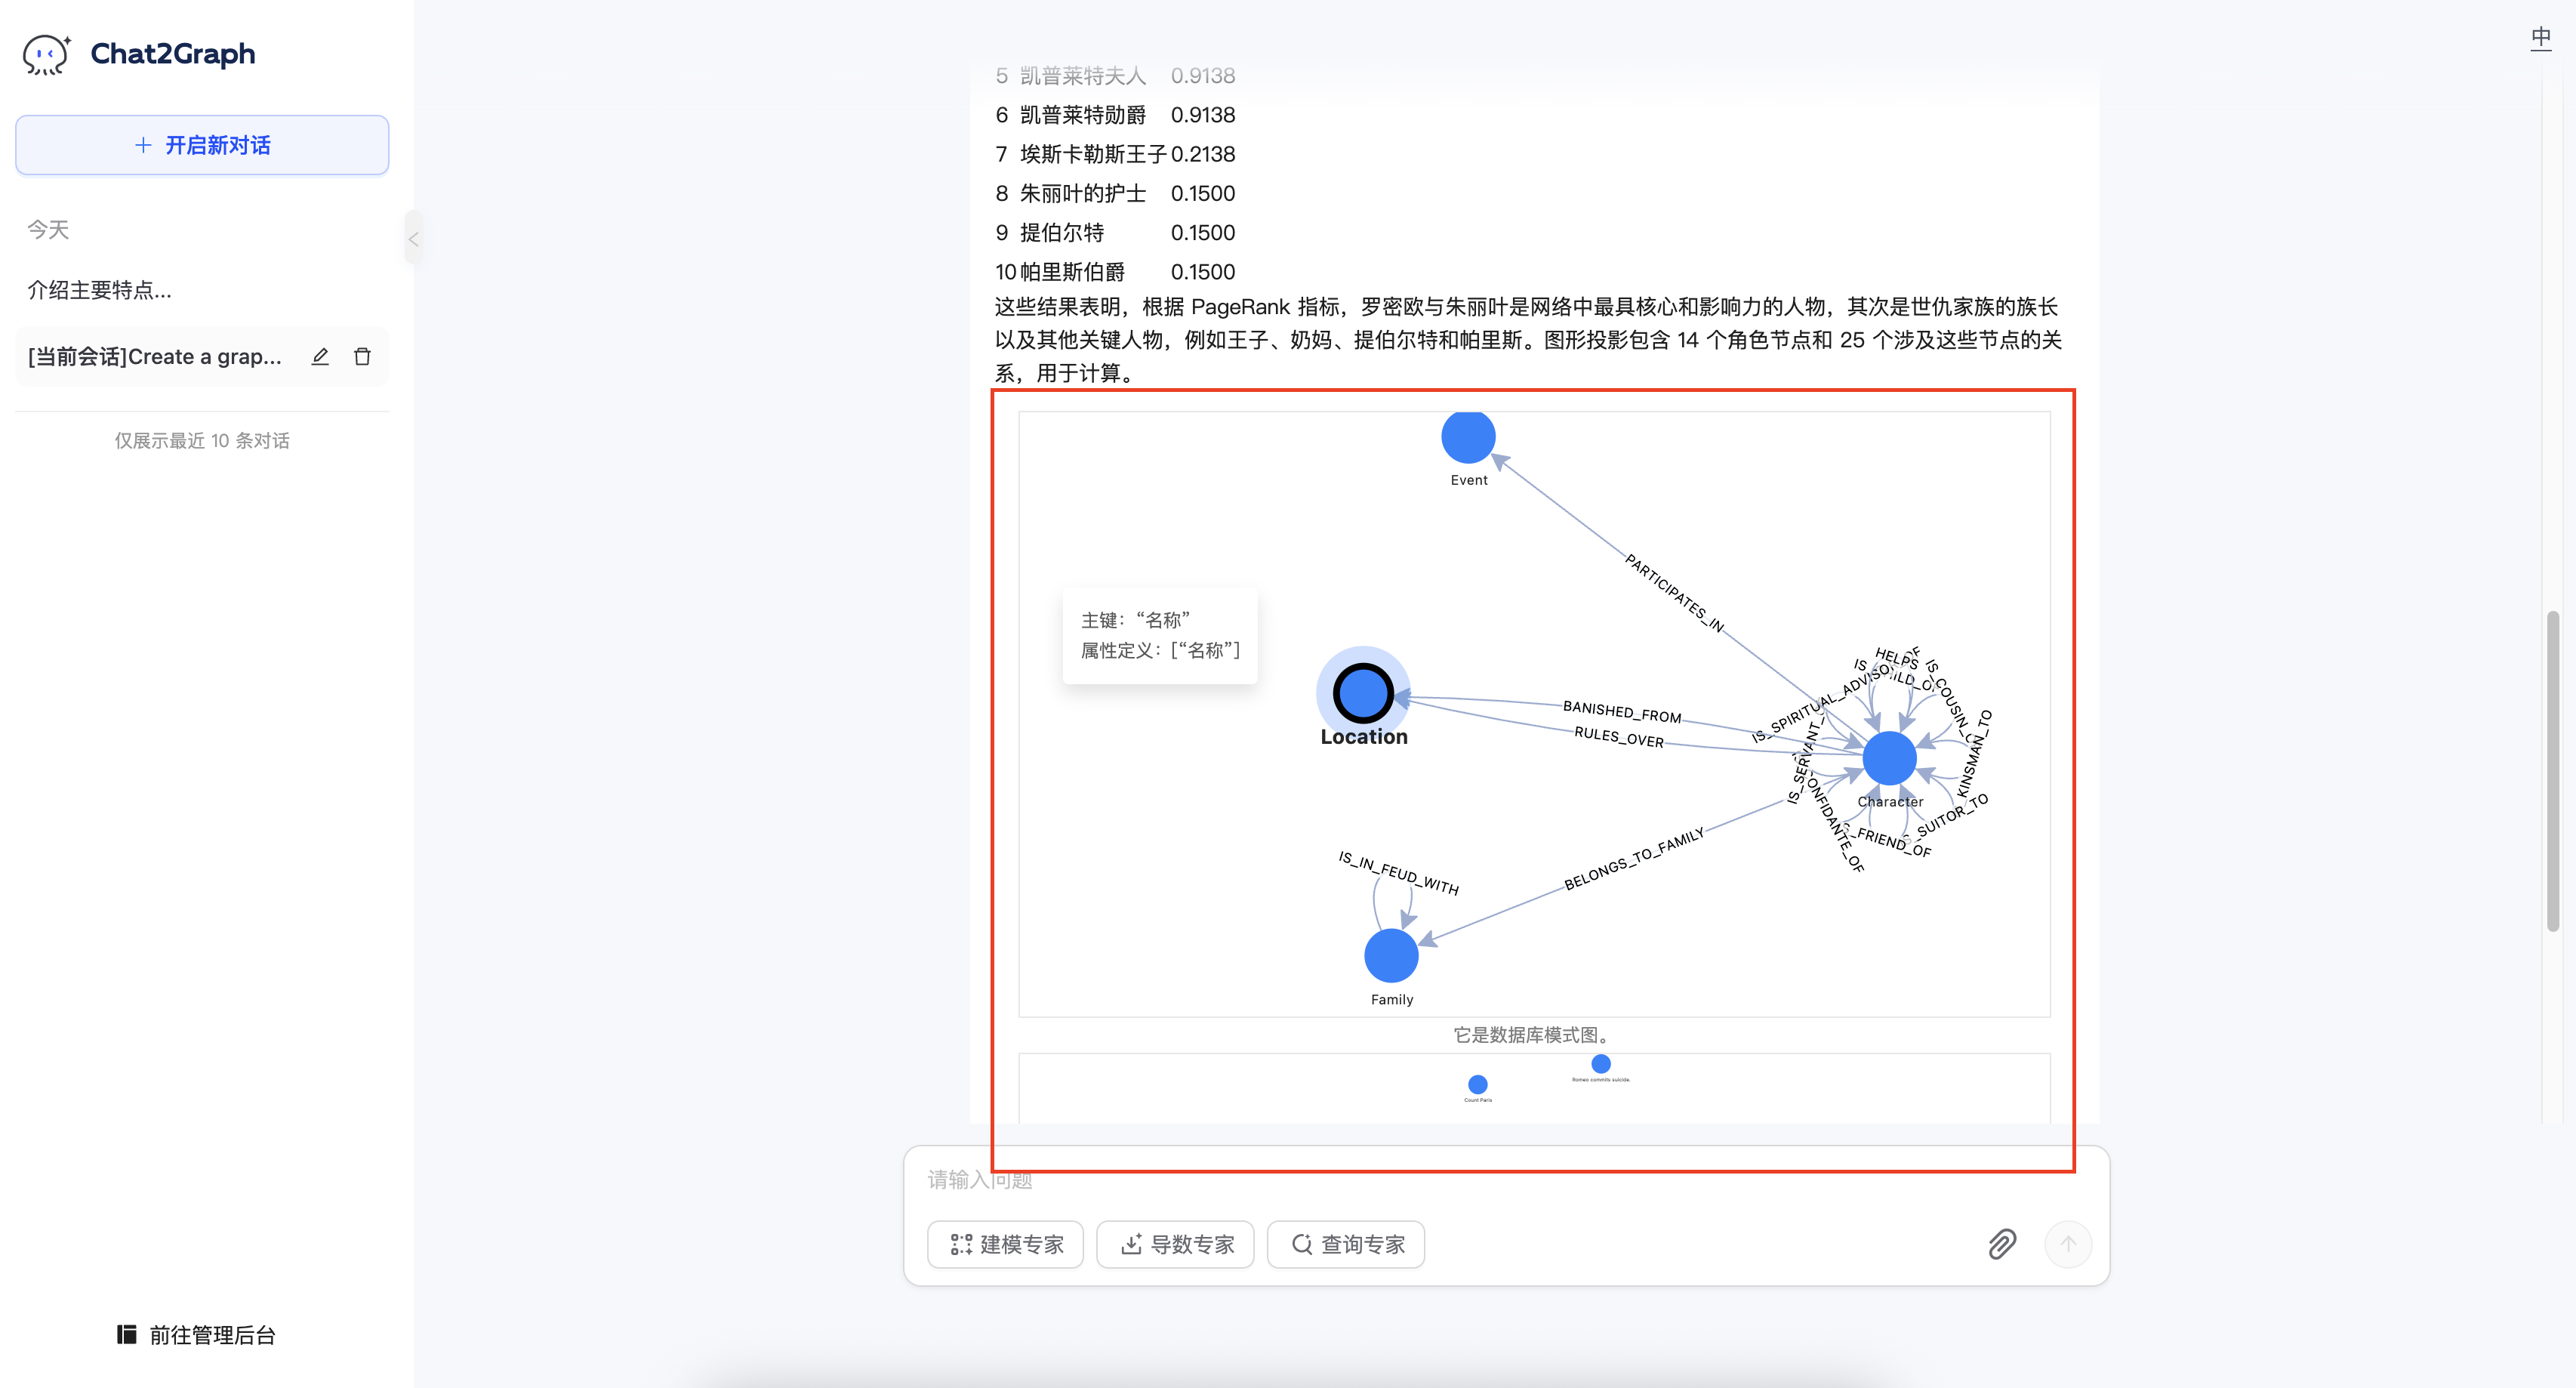
支持图模型与图数据的实时渲染。
集成 Chat2Graph
Chat2Graph 提供了清晰简洁的 SDK API,让你轻松定制智能体系统。
配置 SiliconFlow 模型:
SystemEnv.LLM_NAME="deepseek-ai/DeepSeek-V3"
SystemEnv.LLM_ENDPOINT="https://api.siliconflow.cn/v1"
SystemEnv.LLM_APIKEY="{your-siliconflow-api-key}"
SystemEnv.EMBEDDING_MODEL_NAME="BAAI/bge-large-zh-v1.5"
SystemEnv.EMBEDDING_MODEL_ENDPOINT="https://api.siliconflow.cn/v1/embeddings"
SystemEnv.EMBEDDING_MODEL_APIKEY="{your-siliconflow-api-key}"
仿写 chat2graph.yml
文件,一键初始化智能体:
chat2graph = AgenticService.load("app/core/sdk/chat2graph.yml")
同步调用智能体:
answer = chat2graph.execute("What is TuGraph ?").get_payload()
异步调用智能体:
job = chat2graph.session().submit("What is TuGraph ?")
answer = job.wait().get_payload()