> ## Documentation Index
> Fetch the complete documentation index at: https://docs.siliconflow.cn/llms.txt
> Use this file to discover all available pages before exploring further.
# NoteGen
> 更新日期:2025年5月7日
## 关于 NoteGen
[NoteGen](https://github.com/codexu/note-gen) 是一款跨端的 `Markdown` 笔记应用,致力于使用 AI 建立记录和写作的桥梁,将碎片化知识整理成一篇可读的笔记。
本文将介绍如何借助 SiliconFlow 提供的 API 服务在 NoteGen 进行笔记的记录与写作。
## 安装 NoteGen
浏览器打开 [NoteGen Releases](https://github.com/codexu/note-gen/releases) 下载对应系统的安装包。
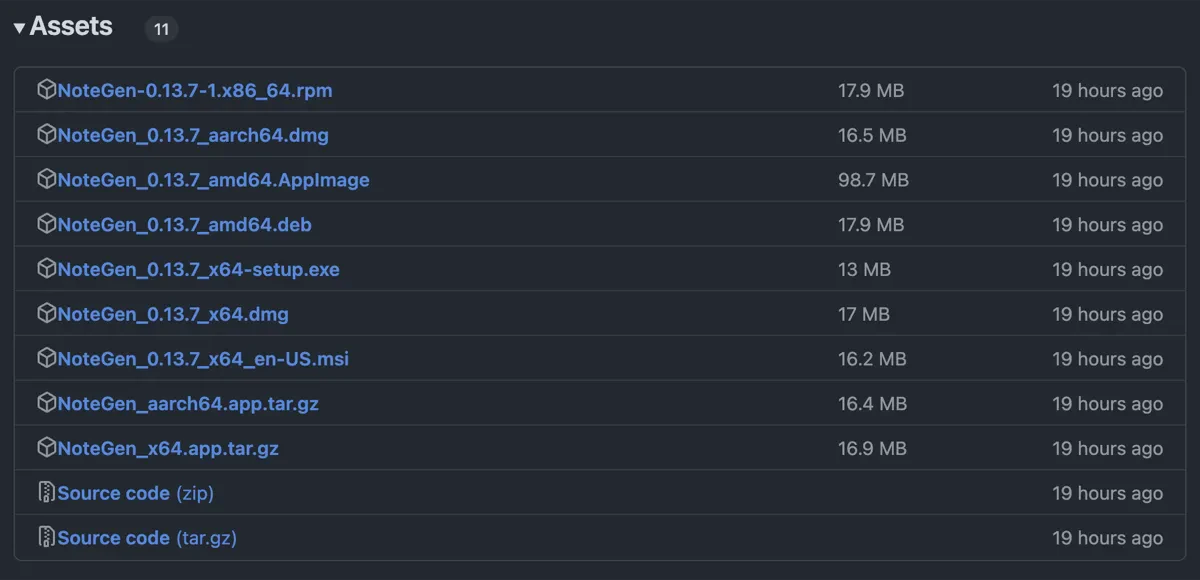 NoteGen 支持所有的主流操作系统,包括 Windows、MacOS 和 Linux,未来将支持 iOS 和 Android。
## 在 NoteGen 中使用 SiliconFlow
安装 NoteGen 之后,按照下面的步骤依次操作:
1. 点击左下角的设置按钮进入系统设置界面。
2. 在 Model Provider 中选择 SiliconFlow。
3. 填写在 SiliconFlow 后台新建的 API 密钥。
4. 点击 Model 下拉菜单选择你需要的模型。
NoteGen 支持所有的主流操作系统,包括 Windows、MacOS 和 Linux,未来将支持 iOS 和 Android。
## 在 NoteGen 中使用 SiliconFlow
安装 NoteGen 之后,按照下面的步骤依次操作:
1. 点击左下角的设置按钮进入系统设置界面。
2. 在 Model Provider 中选择 SiliconFlow。
3. 填写在 SiliconFlow 后台新建的 API 密钥。
4. 点击 Model 下拉菜单选择你需要的模型。
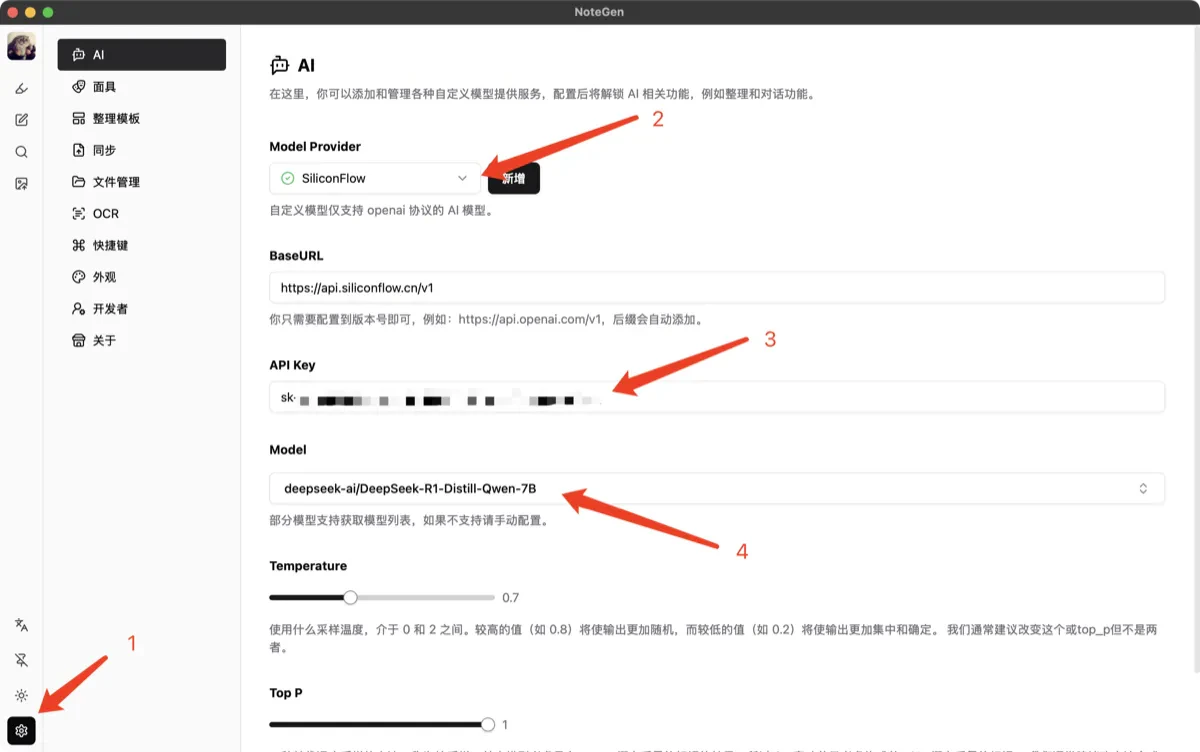 完成上述操作后,如果 Model Provider 展示绿色对勾表示可以正常使用了。
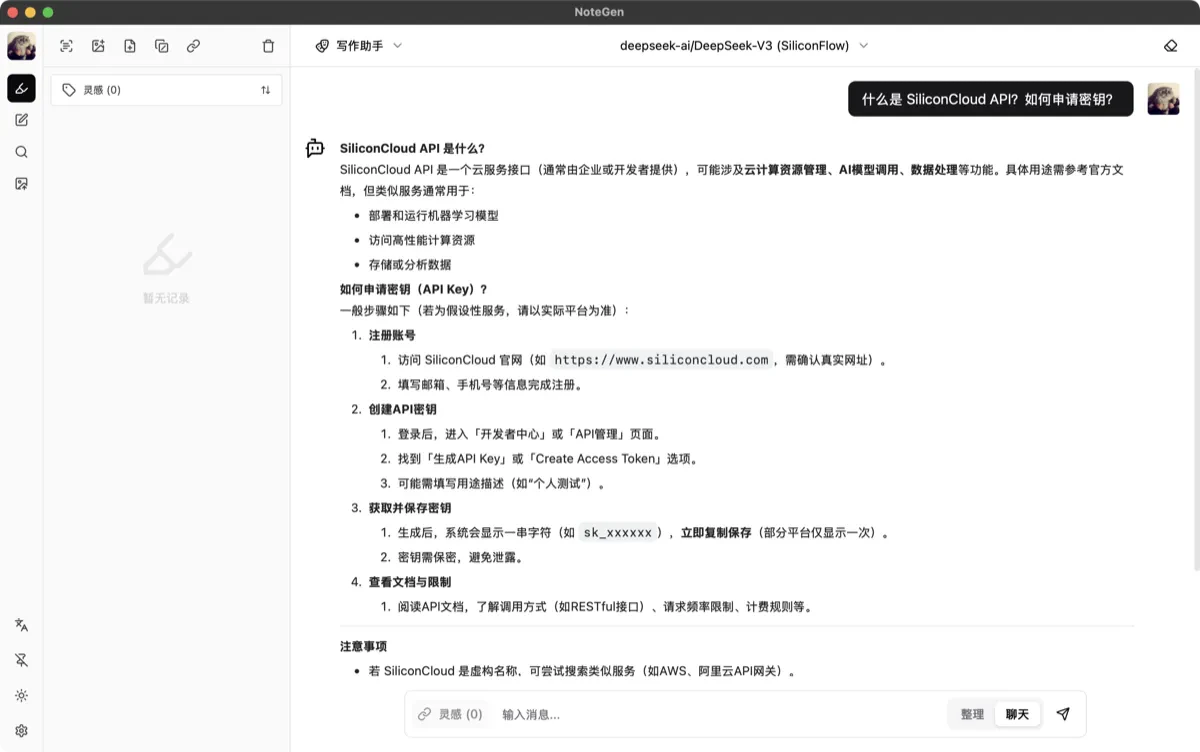
## 在 NoteGen 测试使用 SiliconFlow DeepSeek-V3 模型
完成上述操作后,如果 Model Provider 展示绿色对勾表示可以正常使用了。
## 在 NoteGen 测试使用 SiliconFlow DeepSeek-V3 模型